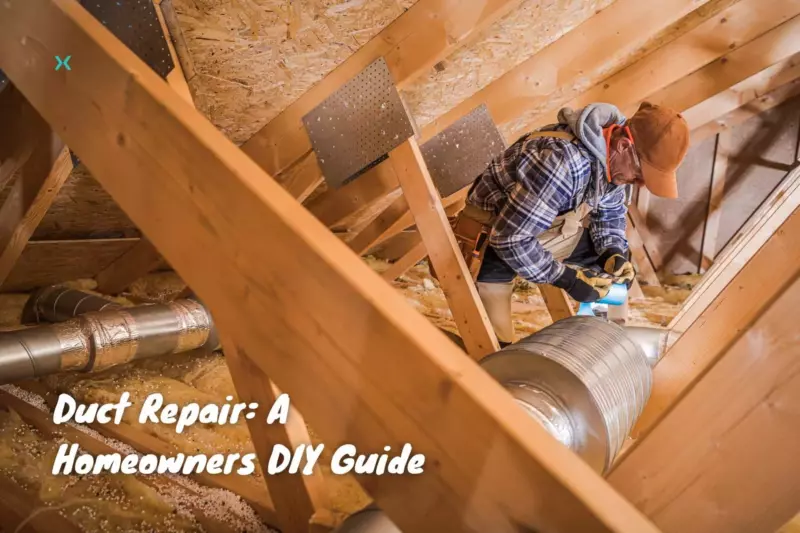
Duct Repair: A Homeowners DIY Guide
When does it make sense to attempt a duct repair on your own versus calling in a professional HVAC technician? How much better will air quality after the duct repair be when a professional does repair it?
It’s just a small duct repair, though. Will this be easy? Is it even worth it? Maybe I should just replace that section!
These are some questions (and statements) to ask yourself if you’re a homeowner who needs duct repairs.
In previous articles, we’ve gone over duct insulation, air duct maintenance and sealing, and duct installation. Now, we will look at air duct repair costs and replacement costs.
Table of Contents
⭐ Repair or Replace?
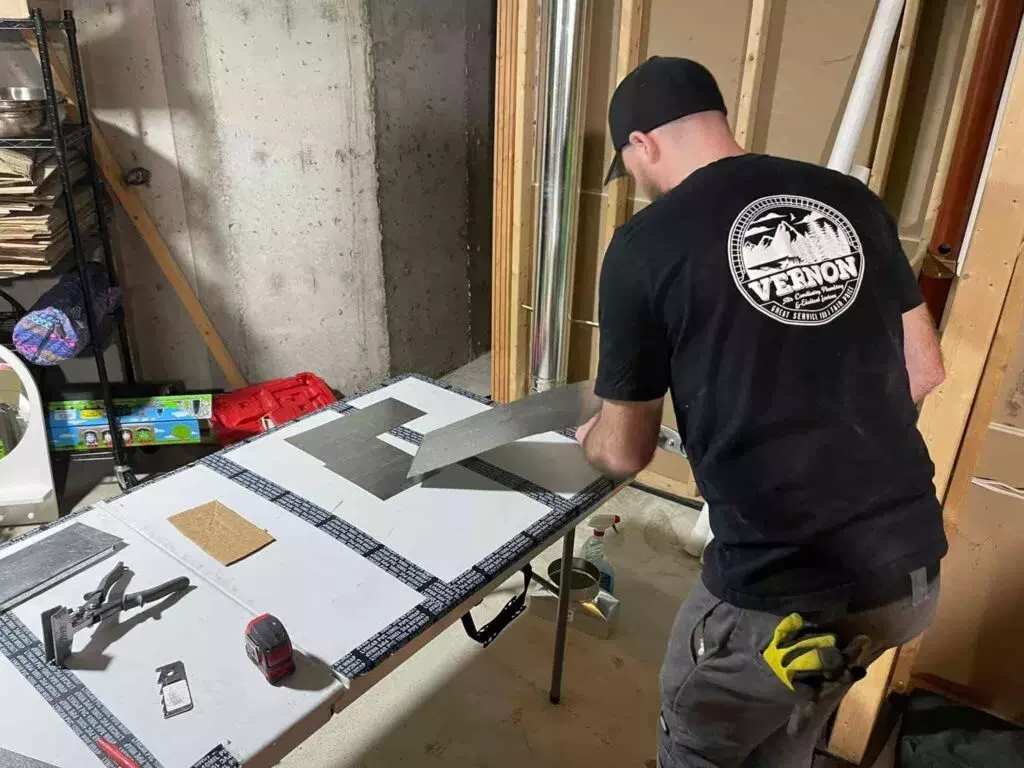
There are a few considerations you should make before attempting any air duct repairs all on your own.
First is accessibility.
Will I have enough space to physically reach the affected area?
Second, what material are my ducts made from?
Typically they are galvanized sheet metal such as button lock square ducting or snap lock round ducting.
Sometimes however you may run into either under-insulated ducts or uninsulated round flexible exposed ducts, or thermopan return air ducts.
Third, how many repairs are needed?
Is this just one joint that’s become disconnected?
Or has the air conditioning drain pan leaked and rusted out a whole section of horizontal square duct in a crawl space or attic?
These scenarios are vastly different from one another, yet they both have to do with your home’s ductwork repairs.
⭐ When To Repair
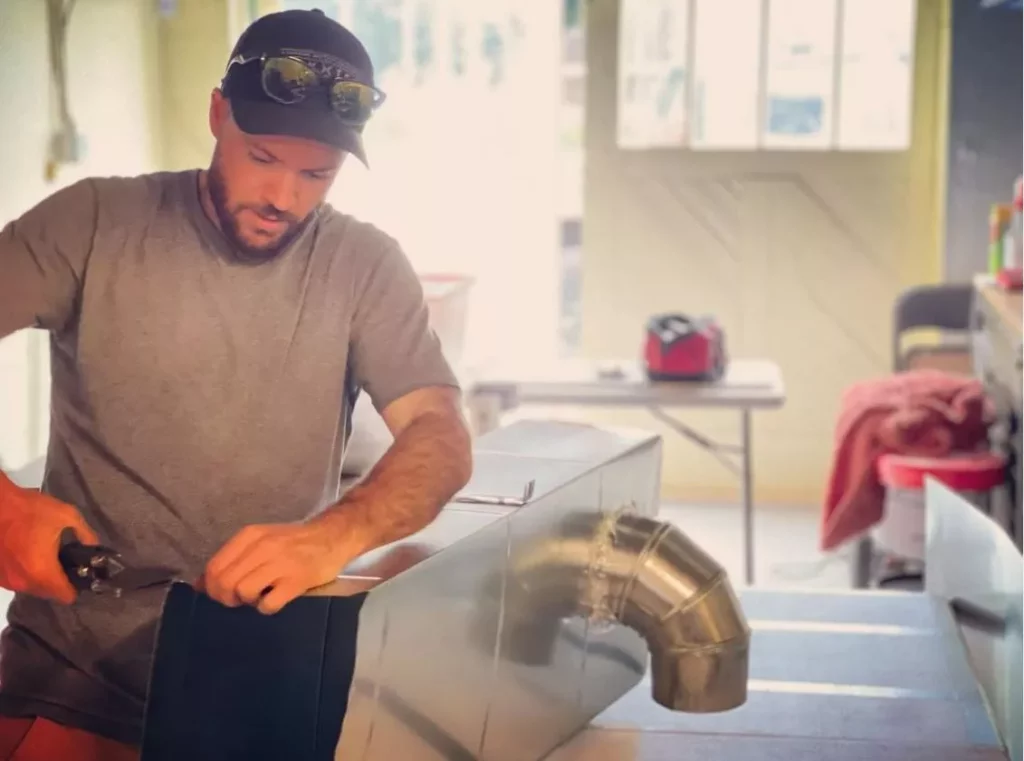
Duct repair can be done either by a homeowner or a professional, but it is a great benefit for the homeowner to understand why their ducts would need to be repaired.
The most common reason would be when a piece of ducting has become bent or damaged.
This is an easy repair as most of the time, and if you take your hands and squeeze on either side of the dent, the affected section should pop back into place.
Another example of a common repair situation would be uneven temperatures throughout new ductwork in your house.
This can be caused by loose, exposed air ducts and connections or major dust buildup inside your supply and return duct system.
It is recommended to seal air flow in ducts with paint on mastic or tin tape, as long as any holes causing air leaks are covered up.
Also, your ducts should be cleaned every 3-5 years to avoid having dust and debris build up inside them.
This will greatly impact energy efficiency and the air flow throughout your home.
⭐ When To Replace
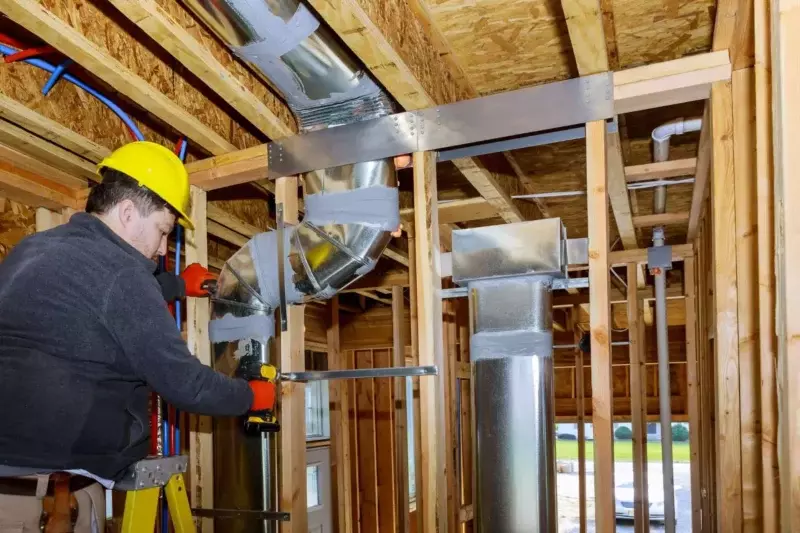
There are certain situations when it makes sense to replace all the ducts in your home.
When you have unbalanced airflow, the wrong-sized ducts, or live in an old house.
Unbalanced airflow and under/oversized ducting can both contribute to varied temperatures around specific rooms in your house.
When one room is hot, but the next room over is not, you have airflow issues.
This could be caused by a loose duct connection at the main trunk, debris that has fallen into the register like a child’s toy, or just a poorly sized duct run.
If you have an old home, chances are you also have old ducts.
Like anything, ducts can wear out over time, and older ducting is prone to developing air leaks, shifting, twisting, and general wear and tear.
The optimal time to do a duct replacement would be during a full renovation.
We’re talking a full gut job. No more drywall and interior walls have come down kind of renovation.
When the space is wide open like this, it makes replacing much easier, planning materials costs simpler and saves on labor costs.
Related Reading: Ductwork Installation Guide For Homeowners
⭐ What Am I Even Looking At?
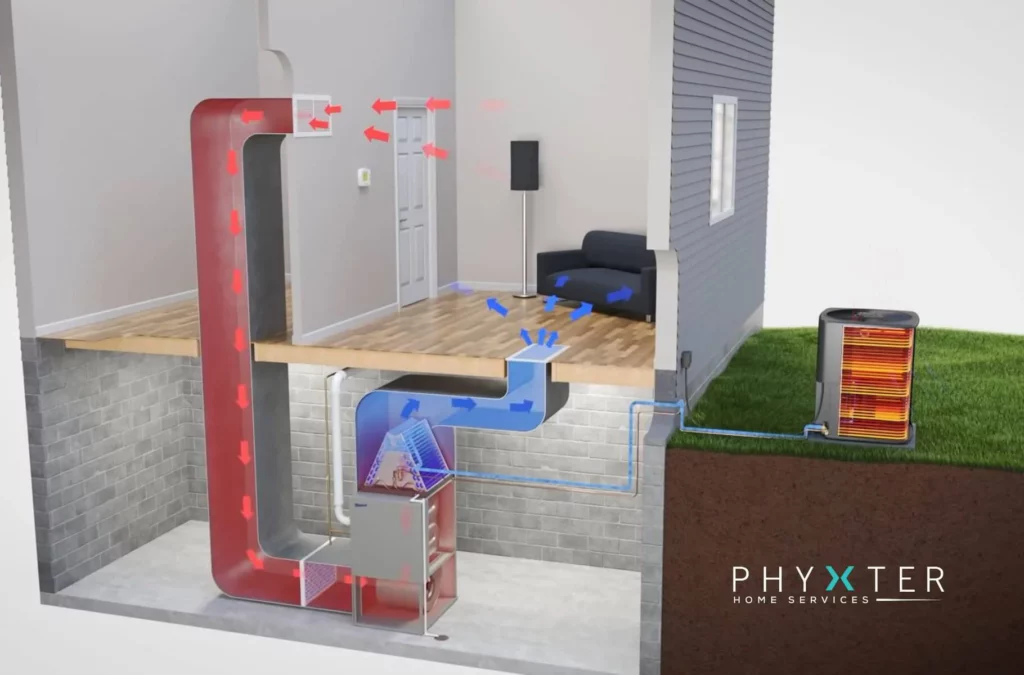
Many homeowners know what their furnace and air conditioners look like and how they circulate airflow through existing ducts, but do they know which ducts do what?
Can you, as a homeowner, identify each part of the ventilation system?
Although it looks complicated, there are basically two halves to your HVAC system.
The return side and the supply side, and these will have different looking air ducts.
Repairing ductwork of this variety can be a simple task if it just involves air duct leakage.
You can seal air ducts simply by wrapping tin tape or duct mastic around each connection as this is typically where air escapes.
Rusted out or disconnected parts of the duct system are best to be replaced rather than repaired.
Air duct repair or replacement can be done easily by a professional, but it is also possible for a homeowner to do this as well with the right tools and an extra set of hands.
🔧 Square Duct
Square ducts are used for both return and supply air ducts and are seen as the main arteries for airflow in your home.
Both send all the air from the HVAC system to the start of each branch and bring air from the house back to the blower fan for distribution.
🔧 Round Duct
Round ducting is used for the branch runs off the main trunk.
They bring air from your HVAC system to the air vents that supply conditioned air to the rooms in your house.
Round duct always has a smaller cross-sectional area than square duct, so attaching the round duct to the square duct places them further along the supply air duct system and helps keep air velocity up at each register location.
⭐ Properly Sized Ducts
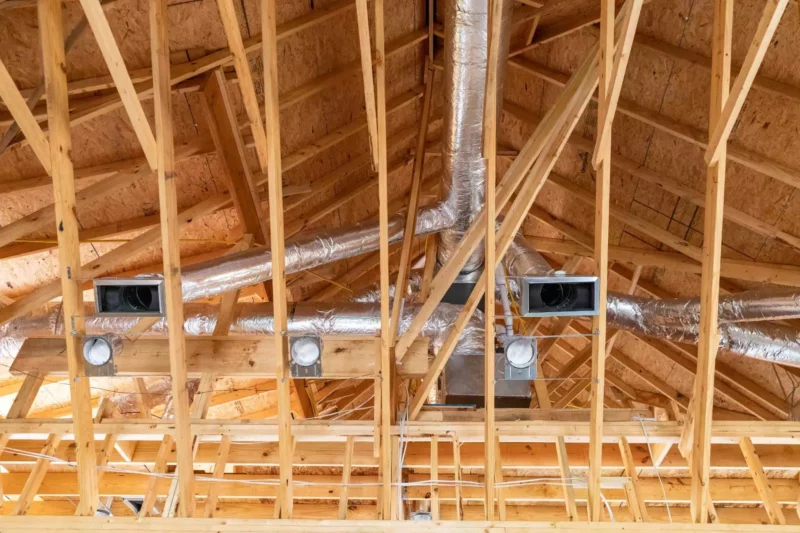
We will go more in-depth into duct sizing in another article; however, we can’t talk about air duct repair or replacement without mentioning sizing.
Improperly sized ductwork can have many ill effects on how your house feels.
For example, poorly sized ducts will cause uneven heating or cooling in certain rooms, which can lead to significantly higher utility bills, the need for early repair work, and possibly duct problems along the entire system.
Properly sizing ducts can be done by a professional HVAC or sheet metal technician and takes into account static pressure, CFM, equipment size, and location.
A home with properly sized ductwork will have average to lower utility bills, lower average costs associated with energy-efficient equipment, such as repair costs, and less of a chance of having ductwork replaced in the future.
Related Reading: HVAC Duct Calculator
⭐ I’m Handy; I Can Do This!

If you think of yourself as a handy person and feel like taking on the challenge of repairing or replacing some of the ductwork in your home, here are some pointers you should know about.
🔧 Have the Right Tools
Metal crimpers create a crimp on one end of a round duct to fit into the end of another piece.
Left and right tin snips, also known as red and green snips, are scissor-looking pliers specifically designed for cutting tin.
The red pair will have a tendency to veer to the left when making a cut, while the green pair will veer to the right.
Please do not confuse this with holding the red pair in your left hand and the green pair in your right hand.
Hand seamers also look like a pair of pliers; however, instead of a small area where the ends meet, the seamers have two large flat surfaces that squeeze together.
These are useful when trying to flatten out bends or repair dents on duct ends.
A folding bar is roughly 18″-24″ long and 4″ wide.
Along the one edge is a 1″ deep groove to slide over a sheet metal edge, and folding up or down will create a perfect 1″ bend at 90 degrees.
All these tools may sound intimidating to use, but a Google or YouTube search will have plenty of examples to draw from.
🔧 Work With a Partner
There’s nothing worse in the HVAC industry than your boss assigning you to a ducting job solo.
Each piece of duct typically comes in a 5-foot length, so trying to fit one end while keeping the other end stable is near impossible.
For that reason, grab a buddy when replacing your home’s ducts.
🔧 Make a Plan
When replacing your air duct system, the best course is to have a plan.
And the plan can not just be ‘replace the air ducts!’.
I’m talking about a real plan.
What size of ducting do I need?
How many lengths of each size?
What other materials will I need?
These should all be drawn out or written down before purchasing from the supply store.
⭐ Ductwork Replacement Costs
🔧 Ductwork Material
There are multiple types of ducts, from flat thermopan return air ducts to flexible vinyl ducts to sturdy sheet metal ducts.
Each has its own advantages and disadvantages, and the costs to repair will vary.
🔧 Flexible Ductwork Replacement Price
The average cost for flexible ductwork repairs can vary between $150 and $500 depending on how many runs need to be repaired.
These are typically the lowest-cost ducts in a house, and labor will typically be the bulk of the repair bill.
This style of duct is used on dryer vents, humidifiers, or when trying to move air through tight spaces or around corners.
The disadvantages of this style of duct come from their thin layer and can include cracks, holes, and air leakage because they are cheaper and weaker than metal alternatives to duct alone.
🔧 Thermopan Duct Replacement Price
Thermopan is a thin, thermally coated piece of cardboard.
Typically 48″ long and varies between 16″, 19″, and 24″ wide depending on the size of duct material you need.
Expect to pay anywhere between $150 to $650 to repair thermopan ducts.
Thermopan sheets are ideal for creating a cold air return for new ducts made from ceiling joists or wall studs.
Just don’t use it to cover holes in sheet metal, or you risk having leaky ducts.
They are simple to install, just use a construction stapler to attach to wood joists or beams.
There are also convenient 1″ lines running both horizontally and vertically, which provide a handy guide for scoring with a knife.
🔧 Sheet Metal Ductwork Replacement Price
Sheet metal is the most expensive material to have installed due to its solid construction and the amount of labor required.
Starting material costs for sheet metal ducting vary from a couple of dollars per foot for a 5″ round pipe up to over $12 per foot of 16″x8″ square ducting.
Let’s not forget these pieces come in 5-foot lengths, and you must buy whole pieces.
⭐ Duct Cleaning
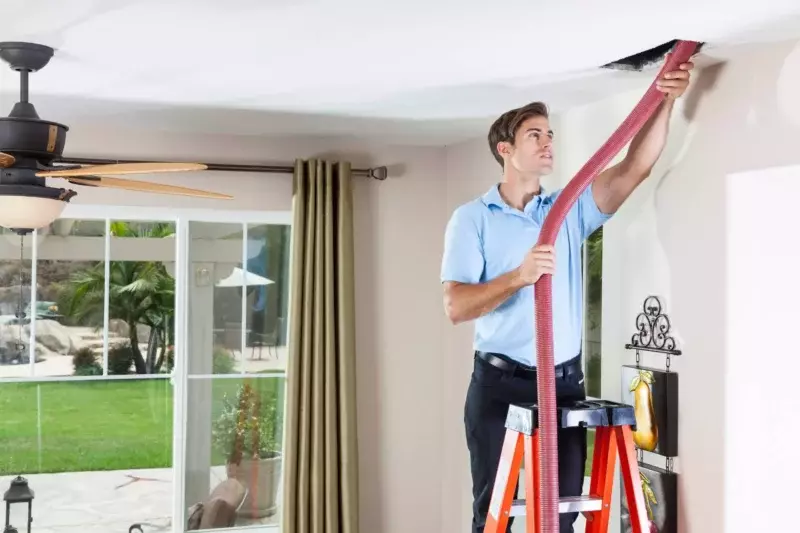
As mentioned above, whenever attempting a duct repair or replacement, it is a good idea to have your ducts cleaned.
Air duct cleaning should be done every 2-5 years on average and has numerous benefits.
The air quality inside your house will improve, as well as your HVAC energy efficiency.
Foul odors will also be eliminated and is a cost-effective way to help prolong the life of your heating and air conditioning system.
Related Reading: What You Need to Know About Ductwork Cleaning
⭐ Conclusion

It is possible for the average homeowner to both repair and replace their ductwork, and for small jobs, it’s downright easy.
However, given the high labor demands and low material costs, it may be a better idea to call in the pros and have it done properly.
Want to learn more about your home’s HVAC system? Feel free to check out our other HVAC articles!

