How To Fix a Leaky Pipe Without Replacing It
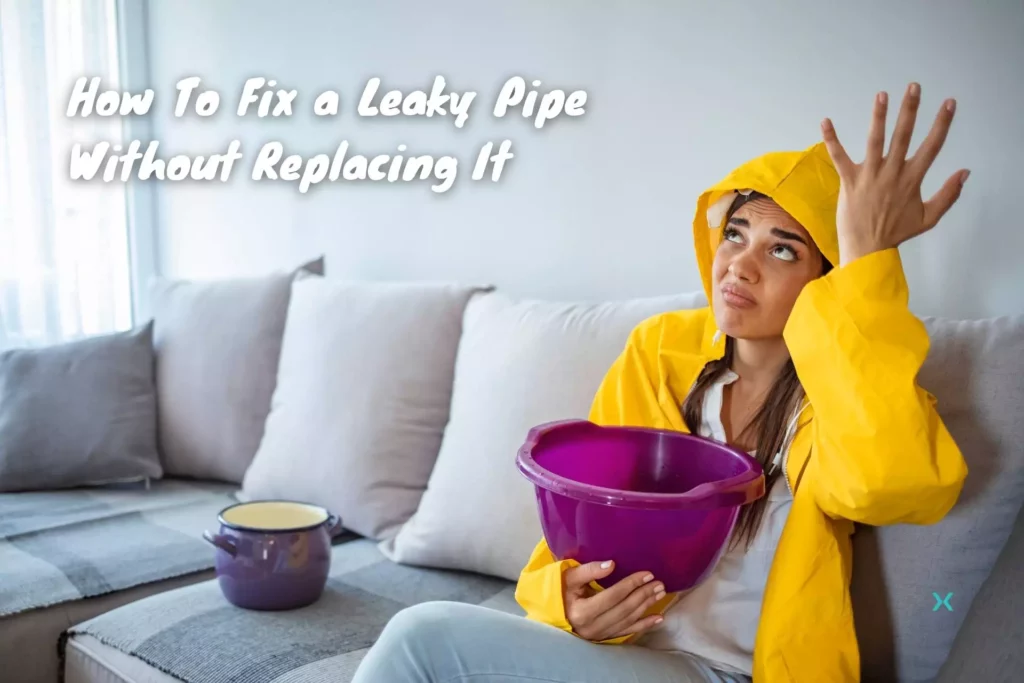
Fixing a leaky pipe without replacing it can be intimidating for many DIY homeowners, but it doesn’t have to be.
With the right techniques and materials, you can quickly and efficiently fix the source of your leak without replacing the entire pipe.
Read on to learn how to repair a leaky pipe with items you can find at your local hardware store.
✅ PRO TIP: The following leaking pipe repair methods are only a temporary fix. You should always engage a professional plumber for a more permanent solution.
Table of Contents
Are All Residential Plumbing Pipes The Same?

No, all plumbing pipes are not the same.
Different types of plumbing pipes are designed for different applications.
PEX pipes are made with plastic and are best for cold water supply lines, while copper is better for hot water applications.
PVC is often used in drains and vents, while metal piping is ideal for gas lines.
ABS is similar to PVC but more durable in cold weather applications.
It’s essential to identify the type of pipe you’re dealing with before attempting to repair it so that you can choose the appropriate materials and processes for the job.
What Are the Best Ways to Fix a Leaky Pipe?

Leaky pipes can be a nuisance, but they don’t always have to be replaced.
The best way to fix a leaky pipe depends on the type of pipe and how the leak occurred.
Small leaks in PVC or ABS pipes can be patched with an appropriate repair kit.
If the pipe is made from copper or galvanized steel, you may need to solder new parts into place.
PEX piping can often be repaired by cutting out the damaged parts and connecting new pieces.
How To Repair A Leak

Locate the Leak
Most water pipe leaks are apparent, but locating a leaking pipe that’s not, can be tricky.
Start by looking for signs of water damage and listen for hissing or dripping noises.
Pressure testing equipment or specialized cameras may also be needed to pinpoint the exact source of the leak, especially if it’s hidden in a wall cavity or a crawl space.
Turn Off Your Main Water Supply
When fixing a pipe leak, it’s essential to turn off your main water supply first.
Doing so will ensure that you don’t cause more damage while making repairs.
Locate the shut-off valve near the meter or where the water line enters your house, and make sure you know how to operate it.
If needed, use an adjustable wrench or a specialized key.
✅ PRO TIP: Give it some lubrication if it’s stiff. Nothing is worse than trying to turn off the water at night when it’s cold and won’t budge!
Turn On Your Faucets to Relieve the Pressure
To relieve pressure in your pipes, start by turning on any faucets that are connected to them.
Begin with the lowest faucet in your home, such as a garden hose or basement sink, and let the water run until the pipes are completely drained.
If there is a leak in a pipe leading to a specific fixture, be sure to turn on that faucet first for complete drainage.
Apply the Relevant Fix
Before repairing pipe leaks, identify the type of pipe you’re dealing with and look closely at the size of the leak or break.
Examining your pipes will help determine which fix will work best for your situation.
Turn the Water on and Inspect your Handiwork
After completing a repair on a leak or damaged pipe, turn the water back on slowly to inspect your handiwork.
Ensure there are no further issues with the pipe and that the repair was successful.
Types of Repairs

1: Fixing a Leaking Pipe With Pipe Wrap Tape
Pipe repair tape or self-fusing silicone tape can be used to create a watertight seal over a leaking pipe or joint.
Like all the following repairs, dry the area around the pipe leak first.
Tightly wrap the pipe tape around the pipe in an overlapping fashion, ensuring each layer overlaps at least 50% of the layer before it.
This will ensure that it forms a watertight bond and creates a strong seal.
For emergency repairs when you don’t have time to shut off the water, there are some special types of pipe tape designed for these quick fixes.
2: Fixing a Leaking Pipe With Epoxy Putty
Epoxy putty is an excellent solution for emergency pipe repairs.
Start by cleaning and drying the area around the leak, then use sandpaper to score or roughen the surface.
To mix the two components of the epoxy putty, take enough of each component to cover the leak and knead them together until they are properly blended.
Make sure it becomes a solid color so you know its thoroughly mixed.
Press the compound over the leak, forming it around the pipe to overlap and cover any holes or cracks.
Depending on the product you’re using, you may need to apply pressure as it sets; this should only take a couple of minutes before it starts to harden.
Any extra material should be removed quickly.
3: Fixing a Leaking Pipe With a Pipe Repair Cast
Pipe repair wrap is an effective way to patch a leaking pipe or joint.
Start by cleaning and scoring the area around the leak with sandpaper.
Mix the putty components until you get a malleable compound that can be shaped over the leak.
Press it firmly around the pipe, mix the water-activated resin compound, and saturate the cast wrap.
Tightly wrap this around the repair area, overlapping the putty.
Finally, cover this with a bandage until it’s fully set.
Depending on product instructions, this may take several minutes before you can remove the bandage and let the cast solidify completely.
4: Fixing a Leaking Pipe With a Pipe Repair Clamp
Pipe repair clamps or repair sleeves are an effective tool for temporarily sealing minor to moderate leaks along the length of a pipe.
To do this, unscrew the bolts that secure the clamp and slip it over the pipe, ensuring that the rubber seal covers the leak fully.
Use a wrench to tighten the bolts and compress the gasket against the pipe leak.
You can also use a rubber patch with two adjustable pipe clamps for emergency repairs.
Cut the patch to size and wrap it around the pipe, then remove the screw from one of the clamps and use it to wrap securely around one end of the patch.
Tighten this into place with a screwdriver, then repeat on the other side with a second hose clamp.
5: Fixing a Leaking Pipe with a Pipe or Slip Coupling
To repair a leaking copper or CPVC pipe, a push-to-connect slip coupling can be used to connect the undamaged segments of the pipe after removing the damaged portion.
First, using a pipe cutter, remove the damaged section of the pipe.
Ensure you cut the pipe squarely and cleanly.
Then smooth out any sharp edges with a deburring tool.
Mark each pipe with the depth gauge as a guide for installing the coupling correctly.
Refer to the manufacturer’s instructions to find the correct depth per pipe diameter.
Slide one end of the coupler onto one end of the pipe as far as possible, then use a specialized removal tool designed for your coupling to engage its release device and pull it back onto the other pipe end until it aligns with your guide marks.
6: Fixing Leaks at PEX Pipe Connections
Leaks in PEX (formally known as cross-linked polyethylene) pipes typically arise from incorrect crimp rings that don’t hold the pipe tightly against its internal fitting.
If this is the source of your leak, repairing it should be relatively easy – all you need is a PEX crimp tool and a go/no-go gauge.
The gauge is included with the crimp tool, so don’t worry.
Check the crimp ring at the leak with the gauge.
If it doesn’t fit into the test slot for your pipe diameter, you may be able to fix the leak by simply crimping again.
If not, adjust your crimping tool slightly to compress the ring more before checking it with the test gauge
If it fits into the gauge’s appropriate slot, you should have sealed off that pesky leak.
Checking The Leaking Pipes are Sealed
After completing the repair, double-check it by turning the water supply back on.
If the pipe is still leaking, you may have to try again or use a different approach.
Otherwise, clean up any remaining wetness and dry out the area.
Make sure not to leave any temporary repairs in place for longer than necessary! Call a local professional plumber to prevent further damage by adding a permanent repair.
✅ PRO TIP: Cold winter temperatures can put your pipes at risk of freezing or even bursting, but there are measures you can take to prevent potentially devastating water damage. One such measure is dripping faucets, which we explain in more detail in our guide on protecting your pipes during winter.
How Much Does It Cost To Fix A Leaking Pipe?

It may be cost-effective to leave pipe leakage repair to professionals, as they typically charge between $150 and $350. When water damage affects drywall, that can add $750 – $1000 or more.
To avoid those added costs, it is recommended to address any leaks quickly.
Call a Professional Plumber

Although basic DIY repairs can temporarily fix a leaky pipe, it’s always important to be aware of your limitations and the risks involved.
If you feel uncomfortable or ill-equipped to handle the repair, you should call a professional plumber.
Professional help will solve the problem with minimal costs and disruption.
You will need one anyway to apply a permanent solution after you have successfully patched your leaking pipe!
