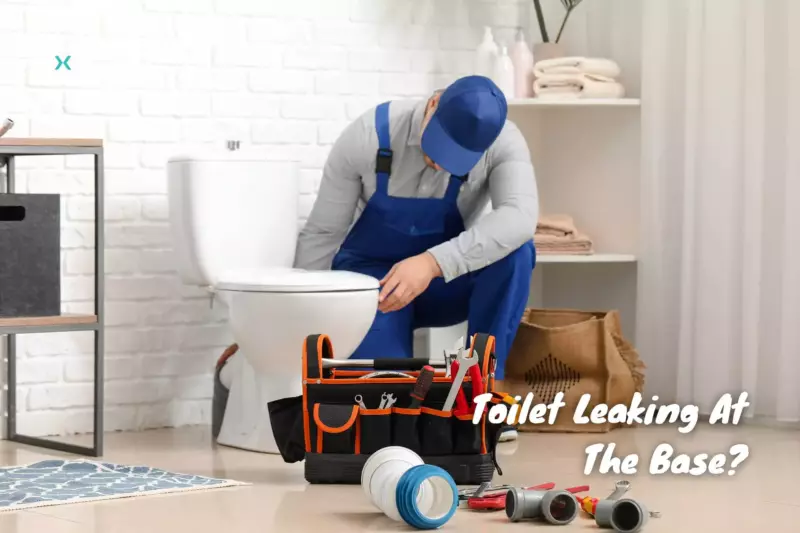
💧 Toilet Leaking At The Base?
Are you looking for a way to repair your leaking toilet before calling in an expensive professional plumber? We’ve got just the guide for you!
Here, we’ll provide step-by-step instructions so you can diagnose and fix a leaking toilet – without breaking the bank or your toilet tank.
From identifying which type of issue is affecting your toilet to gathering all the necessary tools and parts needed for repair, we’ll discuss everything you need to do when toilets leak.
So if tackling this project yourself sounds like something up your alley, read on!
Table of Contents
💧 What’s Causing Your Toilet Leak?

🧰 Faulty Wax Seal
When the wax ring between a toilet and its drainpipe is compromised, it can lead to dangerous water leaks.
This could appear in the form of visible damage on the seal itself or be invisible until an accumulation of water begins gathering at your toilet’s base – both presenting significant health risks due to bacterial contamination.
Excess water doesn’t just put your toilet tank and bowl at risk but can also damage surrounding areas.
If you notice water pooling around your toilet, you should act quickly to prevent structural damage.
🧰 Unattached Tee Bolts
Unattached tee bolts are another common cause of toilets leaking at the base.
Tee bolts are metal pieces that attach the toilet to the floor and keep it in the proper position.
If these bolts become loose or dislodged, they can create a gap between the toilet and its wax seal, allowing water to pass through and leak onto your bathroom floor.
Toilet flange extenders can help prevent this from happening as they fit over tee bolts and extend them further into the floor, providing a more secure attachment.
Additionally, ensuring that all screws in the tee bolt area are properly tightened will help ensure that your toilet is adequately secured to the floor and prevent any potential leaking issues.
🧰 Loose Water Supply Line
If your toilet leaks at the base, it could be due to a loose water line.
The water supply tube connecting the tank and bowl can weaken over time, allowing water to escape and create an uncomfortable mess on your floor.
To combat this problem, ensure all connections are adequately fastened with tightened screws or bolts if necessary.
Furthermore, replacing any worn rubber washers in that same line will not only guarantee a tight seal but also help prevent future leakage issues!
🧰 Condensation Problems
When too much moisture builds up in your bathroom, it can be treacherous for the toilet.
The additional condensation seeps into small crevices and cracks around the toilet’s base, causing seals to loosen and water eventually leaks out.
Unlike the other problems, there isn’t a clear-cut solution for condensation issues.
You’ll have to inspect your toilet from your toilet bowl rim to your shutoff valve and consider other potential environmental factors.
💧 How to Fix a Toilet Leaking At The Base
🧰 Checking For Condensation

1. Inspect Your Bathroom
Begin by closely examining your bathroom’s walls and ceilings, paying special attention to any discoloration or visible moisture buildup.
You should also check behind cupboards or other locations where condensation may have pooled.
2. Check the Humidity Level
You can use a digital hygrometer device to measure humidity levels in your bathroom.
These can be found at hardware stores.
You want to ensure it remains within 40%-60% Relative Humidity (RH) – anything above this range can cause excessive condensation.
3. Investigate Airflow Issues
Poor ventilation can contribute to higher humidity levels and lead to water dripping from pipes or walls, so check around windows and doors for air leaks.
Additionally, ensure you’re using an exhaust fan when bathing, showering, and running hot water, as these activities will add moisture into the air, which can pool around the toilet’s base and cause a leak.
4. Fix Any Leaks
If you find any cracks or gaps allowing air into your bathroom, use caulk or weather stripping to seal them off and reduce the condensation coming into your home.
🧰 Replacing The Wax Seal

1. Shut Off the Water Supply
Before you start any work on replacing the wax ring of your toilet, make sure to turn off the water supply that runs to it first.
This can usually be found under a bathroom sink or behind your toilet.
2. Remove Old Wax Seal
Once you have turned off the water supply, the next step is to remove the old wax ring from around the base of your toilet.
You should use a putty knife or another flat object to carefully pry away the old sealant while not damaging any surrounding surfaces.
3. Clean and Dry the Area
After you have removed the old wax seal, it’s important to thoroughly clean and dry the area around where it was located.
This will ensure that no dirt or debris gets in the way of forming a secure new seal when you re-apply it later on.
4. Apply New Wax Seal
For this step, you will need to purchase a new wax ring specifically designed for toilets – they come in various sizes and shapes depending on your specific model.
Now, using a putty knife or caulking gun (depending on if you bought pre-made seals or individual sheets), spread out evenly along all edges of the base of your toilet bowl so that there is an even distribution or pressure against its sides.
5. Securely Fasten the New Wax Seal
Once you have applied your new wax ring, use a utility knife to cut away any excess material around its edges – this will help keep everything looking neat and tidy while ensuring nothing has been missed during installation!
Finally, use some screws or bolts to firmly fasten it down onto your bathroom flooring, taking extra care not to over-tighten them as this may cause damage to the surfaces.
6. Test Your Work
To test whether or not your wax ring is installed correctly, turn back on your water supply and flush your toilet.
If there are no more leaks at its base, then congratulations! (And if not, be ready to turn your water supply back off again quickly!)
🧰 Tightening The Tee Bolts

1. Shut Off the Water Supply
Begin by shutting off the water supply to the toilet, either by using the shutoff valve located behind the toilet or turning off the main water supply for your house.
2. Flush the Toilet
Flush the toilet to ensure that the remaining water is emptied from the toilet tank and bowl.
3. Unscrew the Toilet Bolts
Unscrew and remove both tee bolts connected to your toilet base. You may need to unscrew some plastic caps to reach the flange bolts/tee bolts.
4. Inspect the Toilet Bolts
Inspect both ends of each tee bolt for wear and tear, ensuring all connections are tight and secure before replacing them in their respective holes in your floor flange and the bottom side of your toilet base.
5. Screw and Secure the Loose Bolts
Once the two bolts are firmly in place, screw down two nuts onto each bolt until they are equally tightened against each other above their respective holes.
Be careful not to overtighten these bolts, as this can cause damage to other components below, such as pipes or fittings!
6. Turn the Water Back On
If everything has worked as it should and the tank bolts are now in place, your toilet should be good to go.
Considering referring back through all steps listed above again if needed.
🧰 Connecting The Water Supply Line

1. Shut Off the Water Supply
Begin by shutting off the water supply to the toilet, either by using the shut-off valve located behind the toilet or turning off the main water supply for your house.
2. Flush the Toilet
By flushing the toilet, you ensure that all the remaining water is emptied from the toilet tank and bowl and won’t get in the way of your work.
2. Unscrew the Supply Line
Remove any hoses connected to the shutoff valve, then locate and unscrew the supply line connection at its base.
If it has been tightened over time, you may need adjustable pliers or a wrench to do this successfully.
4. Examine the Supply Line
Examine your existing supply line and replace it if it’s clearly damaged.
5. Reattach the Supply Line
Connect it to its original spot near your shut-off valve, ensuring it is fastened tightly so no water can escape. Make sure all connections are tight but not overly tight. Otherwise, you can easily cause damage to the pipes and fittings around the line.
6. Turn the Water Supply Back On
Check for leaks and allow some time before testing the toilet out. Review the previous steps if you come across any problems.
Related Reading: DIY Guide to 15 Common Plumbing Problems & Solutions
💧 Final Thoughts
Fixing toilet leaks at their base is relatively straightforward for most American homeowners.
With the right tools and DIY spirit, you can tighten your tee bolts, reconnect your water supply line, replace your wax seal, or fight the condensation that your bathroom exhaust fan isn’t picking up.
However, if you feel this task may be too daunting, don’t hesitate to contact Phyxter Home Services.
Phyxter provides professional plumbing services in a variety of locations across North America.
We offer quick and reliable service for any leaking toilet base, so if you need assistance, check out if we service your area.
Want to learn more about your home’s plumbing problems? Feel free to check out our other plumbing articles!
Related Reading: DIY Guide to 15 Common Plumbing Problems & Solutions
