Everything You Need to Know for Effective Maintenance
Welcome to our guide on how to clean a window AC unit! Regular cleaning and maintenance are essential for keeping your air conditioning (AC) unit running efficiently and extending its lifespan.
In this comprehensive guide, we’ll walk you through the step-by-step process of cleaning your window air conditioner, covering everything from safety precautions to essential supplies, best practices, troubleshooting tips, and more.
Whether you’re a first-time AC owner or a seasoned DIYer, this article will provide all the information you need for effective maintenance and optimal performance of your window air conditioner. Let’s dive in!
Table of Contents
❄️ Introduction to Window AC Units: Understanding How They Work
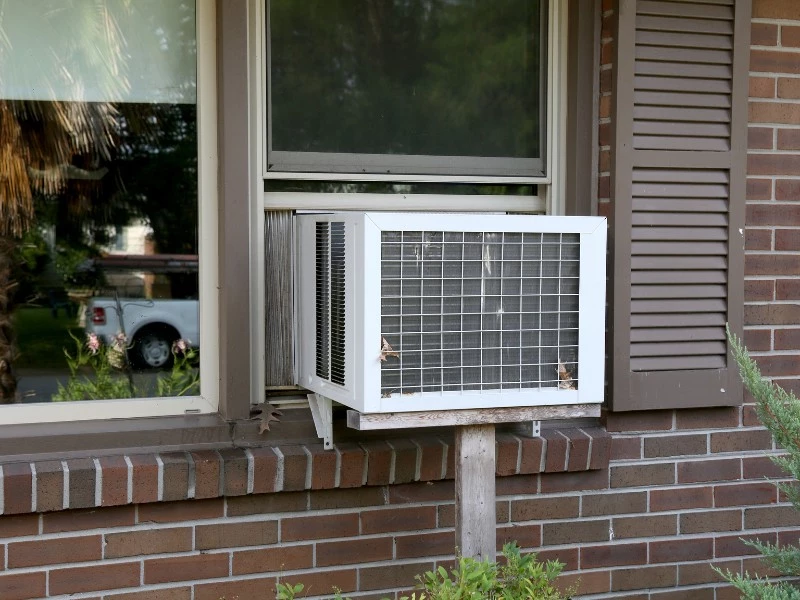
Window air conditioning (AC) units are popular for cooling individual rooms or small spaces.
They are self-contained units typically installed in a window or a hole made in a wall.
Before diving into the cleaning process, it’s essential to understand how window AC units work.
Window units have several key components that cool the air and remove humidity.
These components include the Filter, evaporator coil, condenser coil, fan, and drainage system.
The Filter traps dust and debris from the air before it enters the air conditioner.
The evaporator coil is responsible for cooling the air as it passes over the coil, and the condenser coil releases the heat absorbed from the air.
The fan circulates the cooled air back into the room while the drainage system collects and removes excess condensation.
Understanding how these components work in harmony is crucial to grasp the importance of regular cleaning and maintenance.
Over time, dust, dirt, and debris can accumulate on the Filter and coils, reducing the air conditioner’s efficiency and performance.
A dirty window unit may consume more energy, struggle to cool the air effectively, and even lead to potential malfunctions.
Therefore, properly cleaning these components is essential to keep your window air conditioner running smoothly and ensure optimal cooling performance.
In the following sections, we will provide you with a step-by-step guide on how to clean your window unit effectively and maintain its efficiency.
Related Reading: AC Window Units vs Central Air Conditioning – Which One is Best For You?
🛑 Safety First: Precautions for Cleaning a Window AC Unit
When cleaning your window air conditioning (AC) unit, safety should always be your top priority.
Taking proper precautions to protect yourself and avoid potential hazards is crucial.
Here are some essential safety measures to keep in mind before you start cleaning your window AC unit:
- Disconnect from Power: Turn off the AC unit and unplug it from the power source before cleaning. This will prevent any accidental electric shocks or injuries while handling the unit.
- Wear Protective Gear: Wear appropriate protective gear, such as gloves and safety goggles, to protect your hands and eyes from dirt, debris, and cleaning chemicals. Additionally, consider wearing long sleeves and pants to prevent skin contact with the components.
- Handle Cleaning Chemicals Properly: If you plan to use any cleaning chemicals, read and follow the manufacturer’s instructions carefully. Use them in a well-ventilated area and avoid inhaling fumes. Keep them out of reach of children and pets.
- Use Proper Tools and Techniques: Use the right tools, such as a vacuum cleaner, brush, or damp cloth, recommended for cleaning your window air conditioner. Avoid using sharp or abrasive objects that can damage the components.
- Watch Your Step: Be mindful of your surroundings and work on a stable surface when cleaning the AC unit. Avoid standing on unstable objects, such as chairs or tables, and use a ladder if needed.
- Beware of Sharp Fins: The condenser and evaporator coils of your AC unit are equipped with thin fins that can be sharp. Take caution when handling these components to avoid cuts or injuries.
- Be Cautious of Moving Parts: If improperly handled, your air conditioner unit’s fan and other moving parts can cause injuries. Avoid touching them while in motion, and wait for the AC unit to stop completely before cleaning.
Following these safety precautions can minimize the risks of cleaning your window AC unit and ensure a safe and effective cleaning process.
Remember, if you are not confident in cleaning the window air conditioner safely, it’s always best to seek professional help.
Your safety should be the top priority during any maintenance task.
❄️ Essential Cleaning Supplies: What You’ll Need

Before you start cleaning your window air conditioning unit, gathering the essential cleaning supplies is necessary.
The right tools and materials will ensure you can effectively clean the unit and remove dirt, dust, and debris.
Here’s a list of the basic cleaning supplies you’ll need:
- Vacuum Cleaner with brush attachment: A brush attachment is essential for removing dirt and debris from the Filter, coils, and other AC unit components.
- Soft Brush or Cloth: A soft bristle brush or damp cloth will be used to clean the coils and fins of the AC unit gently. Avoid using abrasive materials that can damage the components.
- Mild Detergent or Cleaning Solution: A mild detergent in a spray bottle or a specific AC cleaning solution can clean the Filter, coils, and other components. Avoid using harsh chemicals that can damage surfaces.
- Water Source: You’ll need a water source, such as a bucket or hose, to rinse off the cleaning solution and clean the components thoroughly.
- Screwdriver or Wrench: You may need a screwdriver or wrench to remove the front grille or access panel of the window unit, depending on the model.
- Gloves and Safety Goggles: Gloves and safety goggles will protect your hands and eyes from dirt, debris, and cleaning chemicals during the cleaning process.
- Towels or Rags: Towels or rags will help wipe down surfaces and dry the components after cleaning.
- Fin Comb (Optional): A fin comb is a useful tool for straightening bent fins on the condenser and evaporator coils, improving airflow and performance.
These essential cleaning supplies will help you efficiently clean your air conditioners and ensure that it’s free from dirt and debris, improving their efficiency and performance.
Step-by-Step Cleaning Process: A Guide for Window AC Unit Maintenance
Regular maintenance and cleaning of your window air conditioning (AC) unit are essential to keep it running efficiently and extend its lifespan.
Follow these step-by-step instructions to clean window air conditioners effectively:
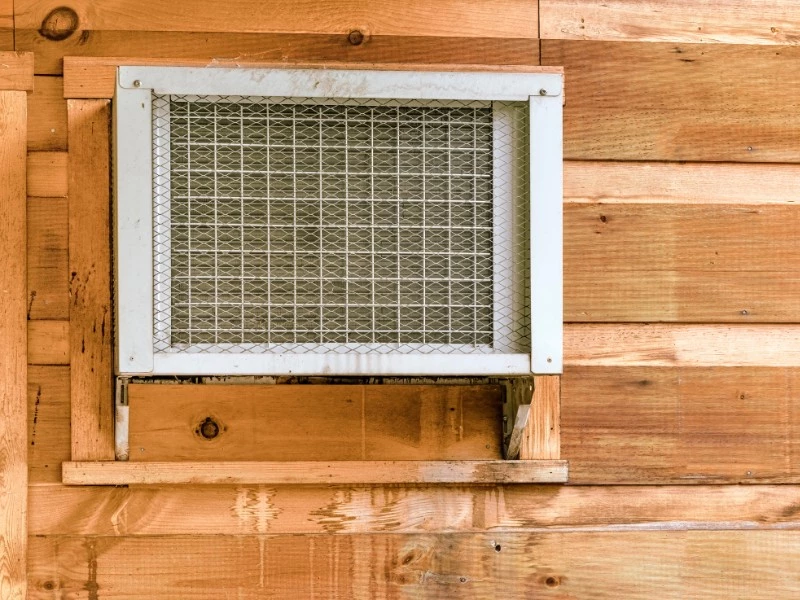
How To Clean a Window Air Conditioner
Step 1: Turn Off and Unplug the AC Unit
Ensure that the AC unit is turned off and unplugged from the power source to prevent any electrical hazards.
Step 2: Remove the Front Grille or Access Panel
Using a screwdriver or wrench, carefully remove the front grille or access panel of the AC unit to access the Filter, coils, and other components.
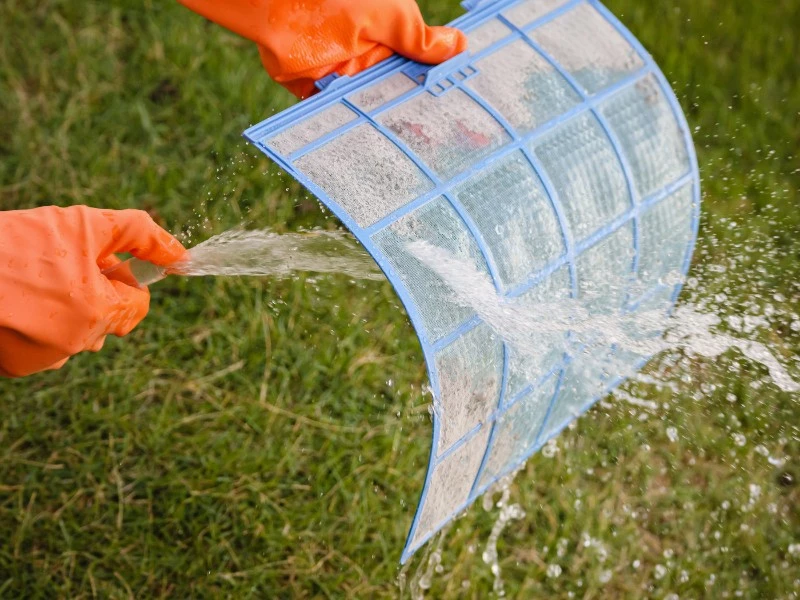
Step 3: Clean the Air Filter
Remove the air filter from the AC unit and clean it according to the manufacturer’s instructions.
If the Filter is reusable, wash it with mild detergent and water, then rinse thoroughly and allow it to dry completely before reinstalling.
If the Filter is disposable, replace it with a new one.
Step 4: Vacuum the Coils and Fins
Using a vacuum cleaner with a brush attachment, carefully vacuum the condenser and evaporator coils, as well as the fins, to remove dirt, dust, and debris.
Be gentle to avoid bending the aluminum fins. Remember that evaporator coils and condenser coils need to be cleaned.
Step 5: Clean the Coils and Fins
If there is still dirt or debris on the coils and fins, use a soft brush attachment or cloth dipped in a mild detergent or AC warm soapy water to clean them gently.
Avoid using abrasive materials that can damage the surfaces.
Step 6: Rinse the Coils and Fins
After cleaning, use a water source, such as a bucket or garden hose, to rinse the cleaning solution from the coils and fins.
Make sure to rinse and remove all cleaning residues thoroughly.
Step 7: Straighten Bent Fins (Optional)
If the fins are bent, you can use a fin comb to straighten them, improving airflow and performance carefully.
Step 8: Wipe Down Surfaces
Using a towel or rag, wipe down the surfaces of the AC unit, including the front grille or access panel, to remove any remaining dirt or debris.
Step 9: Reinstall the Filter and Front Grille/Access Panel
Once all the components are clean and dry, reinstall the Filter and front grille or access panel securely according to the manufacturer’s instructions.
Step 10: Plug In and Turn On the AC Unit
Finally, plug in the AC unit and turn it on to ensure it works properly after cleaning.
Following these step-by-step instructions, you can effectively clean your window AC unit and maintain its performance, efficiency, and durability.
Refer to the air conditioner’s user manual for specific cleaning guidelines and safety precautions for your particular AC unit model.
❄️ Tips and Tricks: Best Practices for Cleaning a Window AC Unit
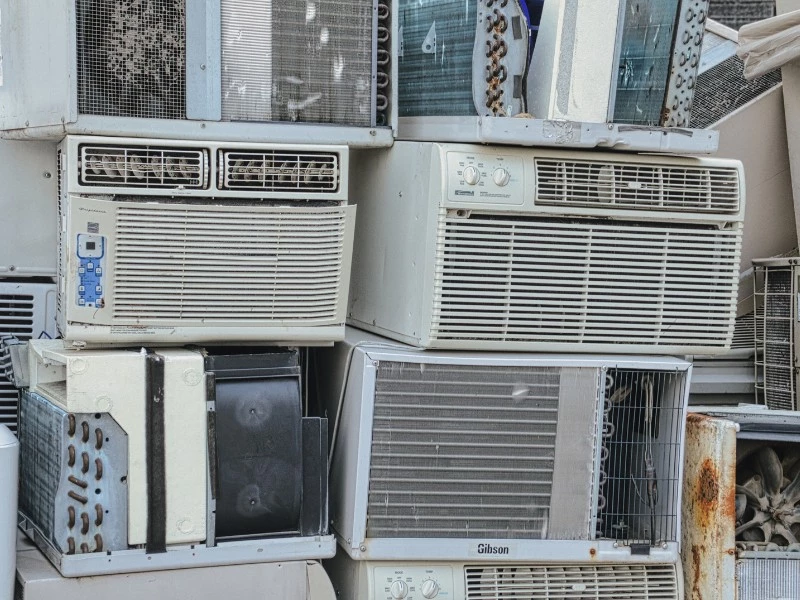
Cleaning a window air conditioning unit can be straightforward if you follow some best practices and tips.
Here are some helpful tips and tricks to keep in mind:
- Regular Cleaning: It’s essential to regularly clean your window AC unit at least once a year or more frequently if it’s in a dusty or high-pollution area. Regular cleaning will help prevent dirt and debris buildup, improve airflow, and maintain the unit’s efficiency.
- Safety First: Prioritize safety when cleaning your window AC unit. Always turn off and unplug the unit before cleaning to avoid electrical hazards. Wear gloves and safety goggles to protect your hands and eyes from dirt, debris, and cleaning chemicals. Follow the manufacturer’s instructions and safety precautions at all times.
- Use the Right Supplies: Use the appropriate cleaning supplies for your window AC unit. Avoid harsh chemicals that can damage the components, and opt for mild detergents or AC-specific cleaning solutions. Use soft brushes or cloths to clean the coils and fins, and avoid abrasive materials that can cause damage.
- Clean the Filter Regularly: The Filter is a crucial component of a window air conditioner and can become dirty quickly. Clean or replace the Filter per the manufacturer’s instructions to maintain the unit’s efficiency and prevent dust and debris from entering the air.
- Be Gentle with Coils and Fins: The coils and fins of the AC unit are delicate and can bend easily. Use a gentle touch when cleaning to avoid bending the fins, as bent fins can obstruct airflow and reduce efficiency. Use a fin comb if needed to straighten bent fins.
- Thoroughly Rinse: After cleaning the coils and fins with a detergent or cleaning solution, rinse them with water to remove all cleaning residues thoroughly. Residues left on the coils or fins can affect the unit’s performance.
- Proper Reinstallation: When reinstalling the Filter, front grille, or access panel, ensure they are correctly secured according to the manufacturer’s instructions. Improper installation can result in decreased performance and efficiency.
- Consider Professional Cleaning: If you are uncomfortable or confident in cleaning your window AC unit, or if it requires extensive cleaning or repairs, it’s best to seek professional help from a qualified HVAC technician to avoid any potential damage or safety hazards.
By following these tips and best practices, you can effectively clean and maintain your window AC unit, ensuring its optimal performance, efficiency, and durability.
❄️ Reassembling and Finishing Touches: Putting it All Back Together
Once you have completed the cleaning process for your window air conditioner, it’s time to put it all back together.
Here are some steps to guide you through the reassembling process:
- Replace or Clean the Filter: If you have cleaned it, ensure it is completely dry before reinstalling it. If the Filter is damaged or worn out, it’s best to replace it with a new one, according to the manufacturer’s instructions.
- Reattach the Front Grille or Access Panel: If you removed the front grille or access panel during the cleaning process, reattach it according to the manufacturer’s instructions properly. Ensure that all screws or clips are securely fastened.
- Check for Proper Alignment: Make sure all components, including the grille, Filter, and access panel, are correctly aligned and fitted. Improper alignment can affect the unit’s performance and airflow.
- Clean Exterior Surfaces: Wipe down the exterior surfaces of the window AC unit, including the housing, front grille, and control panel, with a damp cloth to remove any dirt, debris, or cleaning residue.
- Plug in and Test: Once you have reassembled the window AC unit, plug it in and turn it on to test its functionality. Ensure it runs smoothly and the air flows freely from the vents. Double-check that all controls are functioning correctly.
- Finishing Touches: If desired, give your window AC unit some finishing touches, such as applying a coat of protective spray or wiping down the surfaces with a mild cleaning solution for a fresh and clean appearance.
Following these steps, you can reassemble your window AC unit and ensure it is properly assembled for optimal performance and functionality. Always follow the manufacturer’s instructions for reassembling and finishing touches to avoid potential issues or damage.
Prefer to Watch a Video?
❄️ Troubleshooting: Common Issues and Solutions

Even with regular cleaning and maintenance, window AC units can sometimes encounter issues.
Here are some common problems that you may encounter during or after cleaning, along with their possible solutions:
❌ Unit Not Turning On:
If your window air conditioner is not turning on after reassembling and plugging it in, check if it is correctly plugged into the power outlet and the circuit breaker is not tripped.
If everything appears in order, it could be a faulty power cord, control board, or compressor, which may require professional repair.
❌ Weak Airflow or Reduced Cooling:
If you notice inadequate airflow or reduced cooling performance after cleaning, it could be due to a dirty or clogged Filter, blocked vents, or a malfunctioning blower motor.
Double-check that the Filter, and unobstructed vents, are properly cleaned or replaced, and the blower motor functions correctly.
❌ Water Leakage:
If you notice water leakage from your window air conditioner after cleaning, it could be due to a clogged drain line or a damaged drain pan.
Try clearing the drain line with a stiff brush or using a vacuum to remove the blockage. If the drain pan is damaged, it may need to be replaced.
❌ Unusual Noises:
If you hear unusual noises such as rattling, squeaking, or buzzing from your window AC unit after cleaning, it could be due to loose or damaged components, such as fan blades, motor mounts, or compressor.
Inspect the unit and tighten or replace any loose or damaged parts.
❌ Foul Odors:
If your window AC unit emits foul odors after cleaning, it could be due to accumulated dirt, debris, or mold growth inside the unit.
Try deep cleaning the unit again, paying particular attention to the evaporator coils, drip pan, and drain line.
You can also use an air purifier or odor-neutralizing products to improve indoor air quality.
❌ Error Codes or Malfunctioning Controls:
If you encounter error codes or malfunctioning controls on your window air conditioner after cleaning, refer to the manufacturer’s manual or contact customer service for troubleshooting guidance or professional assistance.
Suppose you encounter any issues with your window AC unit that you cannot resolve.
In that case, it’s best to seek professional assistance from a qualified technician to avoid further damage or safety risks.
Remember, troubleshooting and repairs should only be done by trained professionals or individuals with proper knowledge and experience with electrical appliances.
Always follow safety precautions, disconnect the unit from power before troubleshooting, and refer to the manufacturer’s instructions and guidelines for troubleshooting and repairs.
By being aware of common issues and their solutions, you can troubleshoot and address any problems with your window air conditioner after cleaning, ensuring its optimal performance and longevity.
❄️ Conclusion: Enjoying a Clean and Efficient Window AC Unit

Regular cleaning and maintenance of your window air conditioner are essential for optimal performance and longevity.
Following the steps outlined in this article, you can ensure that your window air conditioner is clean and efficient and provides cool and comfortable air during the hot summer months.
From understanding how window AC units work to taking necessary safety precautions, gathering essential cleaning supplies, following a step-by-step cleaning process, and implementing best practices, you can keep your unit in top condition.
Regular cleaning helps prevent clogs, improve airflow, maintain cooling efficiency, reduce energy consumption, and extend the unit’s lifespan.
Additionally, troubleshooting common issues and following appropriate solutions can help you address any problems arising after cleaning.
Always refer to the manufacturer’s instructions and guidelines, and seek professional assistance when needed.
You can enjoy its benefits throughout the summer by dedicating time and effort to cleaning and maintaining your window air conditioner unit.
A clean and well-maintained window AC unit provides you with comfortable indoor air and helps save on energy bills, reduce environmental impact, and extend the unit’s lifespan.
So, take the necessary steps to clean and maintain your window air conditioner unit.
Enjoy the cool and refreshing air it provides, creating a comfortable living environment in your home.
Want to learn more about your home’s HVAC system? Feel free to check out our other air conditioning articles!
Dealing with other common AC problems? Check out: Top 18 Common AC Problems and Solutions.

