Ductwork Installation Guide For Homeowners
In this handy guide to ductwork installation, we will show you the ins and outs of installing brand-new ductwork, adapting old but still useful ductwork to an HVAC unit, and replacing your return air drop, among other things.
Table of Contents
⭐ Installing New Ductwork
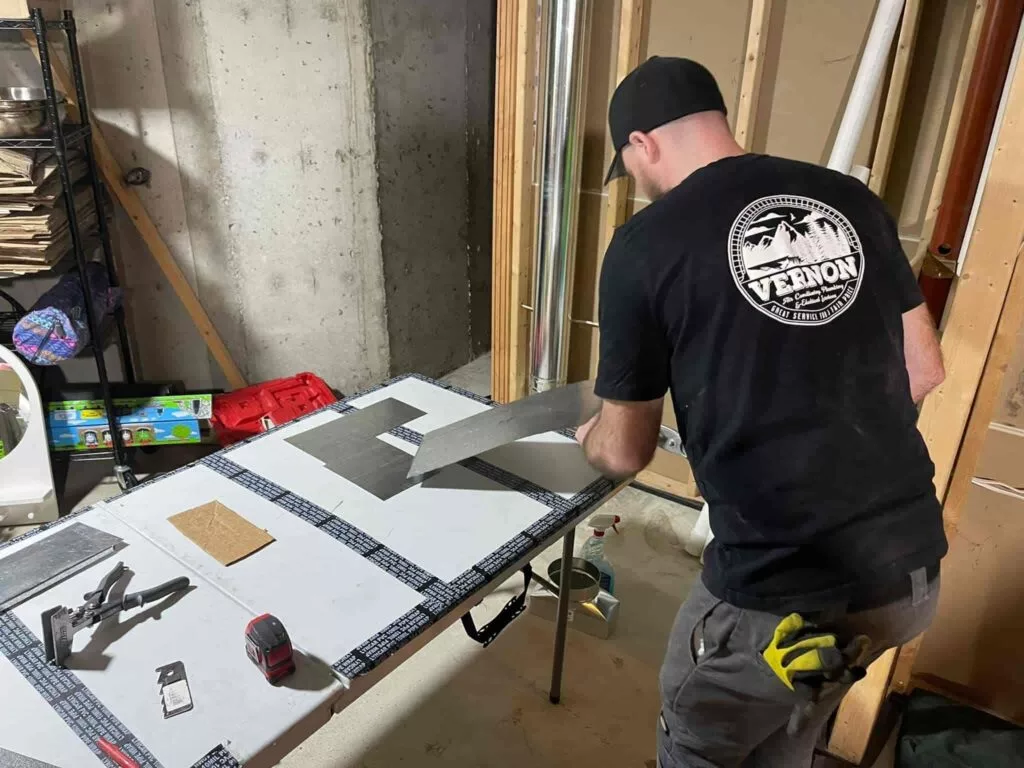
Of all the types of ductwork installation jobs, this has to be the biggest, most expensive option.
New ductwork installation can apply to a new house under construction or an existing system that needs replacing.
When replacing existing ductwork with a new duct system, it is generally a good idea to also do a new load calculation.
The old HVAC system may not have been sized properly in the first place, and replacing the entire HVAC system again with the same size of air ducts could create the same range of issues as before.
✅ One more tip: ducts are measured by the linear foot, not per “piece.”
This is because square duct comes as two halves, while round duct comes at lengths of pipe.
So when starting a new HVAC installation or ductwork installation, the entire system has to be measured out in linear feet.
⭐ Why Should I Replace My HVAC Ductwork?
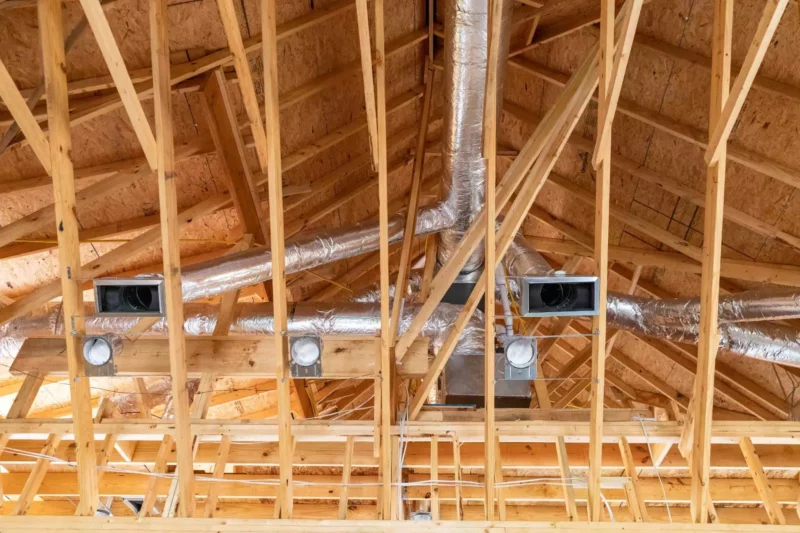
There are quite a few reasons to replace your home’s ductwork system.
If the basement has unfinished ceilings, this will drastically reduce the project and average labor costs and allow the sheet metal technician a better inspection to determine exactly how much ductwork needs replacing.
A few examples can be:
Dusty Home
Are you always cleaning dust off the surfaces throughout your house?
This is a sign your ducts are dusty both on the inside and the outside.
For lightly dusty ducts, try contacting a duct cleaning company.
They will do a great job on the cost of cleaning inside your ductwork and save you on the other labor, supplies, and costs associated with replacing ductwork.
Poor Airflow
This is the number one reason for uneven or inconsistent temperatures throughout your house.
Airflow restrictions and leaks in air ducts can be caused by broken, disconnected, or undersized ductwork and should be repaired or replaced.
Musty Smell
When moisture and humidity combine together, they can create mold.
Eventually, mold will give off a musty smell, which can settle into multiple areas of the house.
Duct cleaning can help with faint musty odors; however, the only guaranteed way to get rid of these smells would be to replace that whole section with new sheet metal ductwork.
Noisy Furnace and Air Conditioner
Has your furnace and air conditioning system been making odd noises?
It could be your ducts and not your actual HVAC system.
Loose and unsecured air ducts will vibrate more often, so installing ductwork and ensuring duct connections are sealed and properly supported will hopefully stop these noises.
Ducts Are Old and Damaged
Ductwork is considered old after roughly 15 years of use.
Depending on the quality of ductwork repair and installation, after 15 years, these ducts could be dusty or completely falling apart.
Dents in air ducts are ugly and can potentially cause air leaks that lead to airflow issues, uneven temperatures, more dust throughout the house, and even creepy crawlies making a home inside the air ducts.
⭐ Ductwork Terms
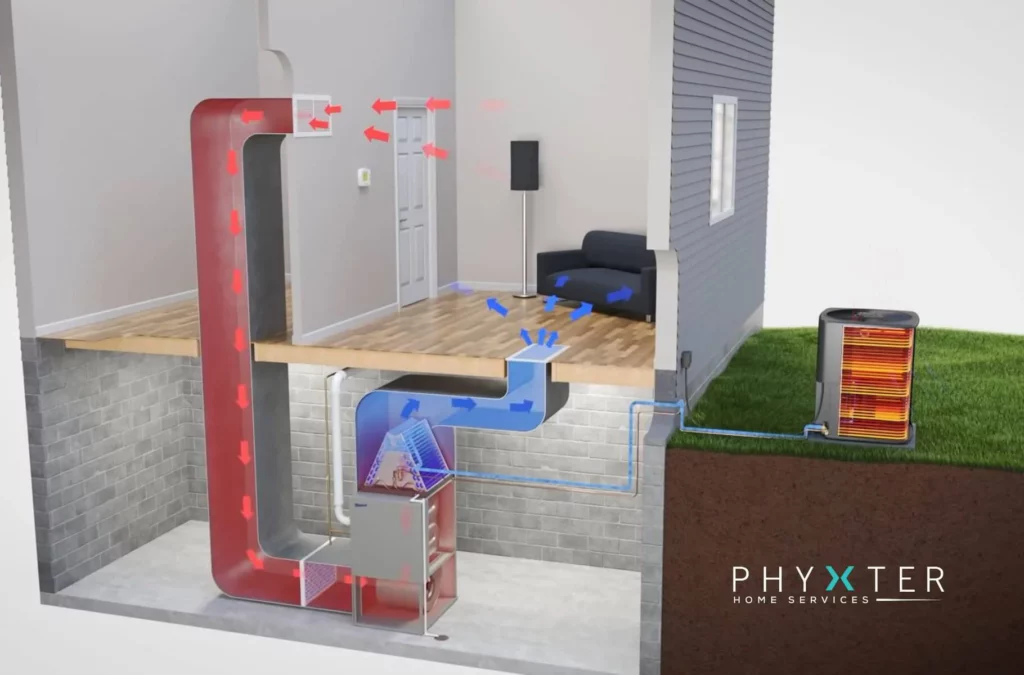
Here are some useful terms to know about your next HVAC unit ductwork installation project.
Supply and Return Air
The supply air side of the HVAC duct system starts after the blower fan that circulates airflow in the house.
The return air side brings air from each room back to the fan.
The easiest way to understand the difference between the two is the supply air is forced out into the ducts while the return air is sucked back through the ducting into towards the blower wheel.
Plenum
This is the largest air duct in the system.
It sits on top of the furnace or air handler on the heat supply or central air conditioning side, where the main trunk line take-off starts.
The plenum is almost always a square ducting.
A normal plenum size is approx 17.5″ x 20″ but can vary for different furnace/air handler widths.
The return air drop is also a type of plenum; however, it is typically thinner and longer than the supply plenum.
The most common size for a return air drop is around 8″x 24″ or 10″x 24″.
Main Trunk
This can apply to both return and supply trunks; however, most people are just referring to the supply.
These are smaller in size than the plenum and will typically go down in size after a certain distance in order to keep air velocity consistent.
They can be either round or square ducts.
Branch Lines
Branch lines are attached to the main trunk line and branch off to supply registers throughout the house.
They are the smallest ducts, usually 5″ in diameter and always round.
⭐ Assembling Square Ductwork
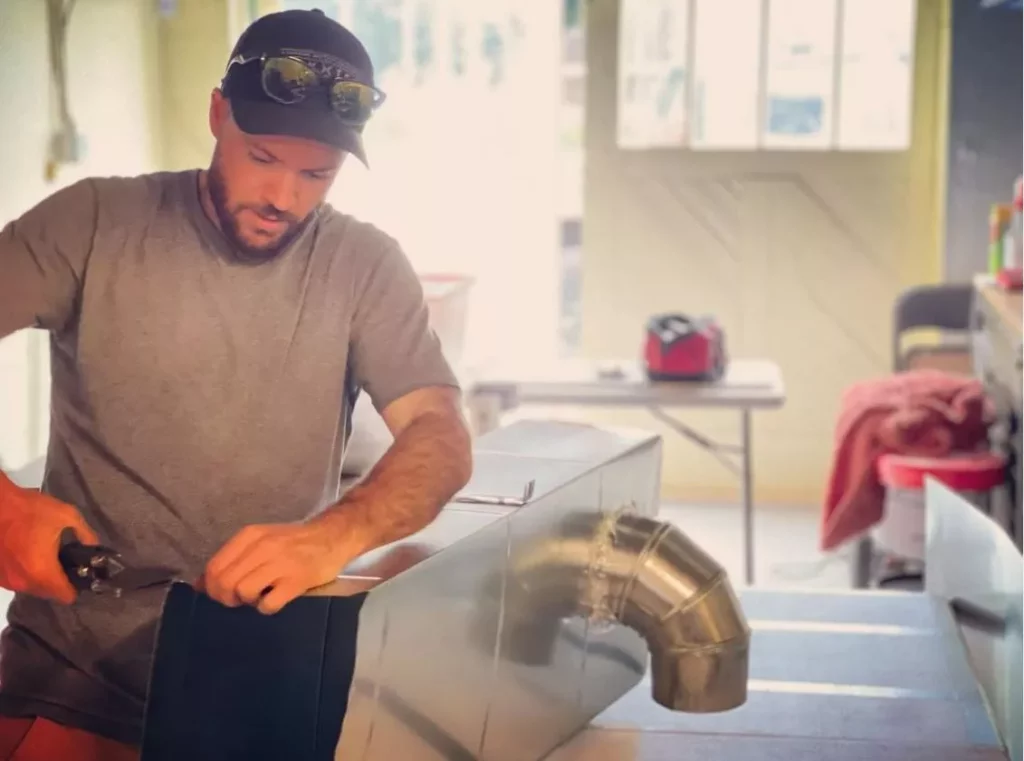
Installing ductwork takes careful planning and lots of time.
It’s a tedious process that will yield incredible results as long as the installation is done properly.
While doing a proper installation isn’t exactly hard, there is always the urge to cut corners to save time.
This is the difference between a professional sheet metal installer and a handyman.
Assembling square sheet metal ducting is easy as long as you have a pair of tin snips, a tin hammer, a flat-head screwdriver, a flat metal folding bar, and a table.
First, set up your table and lay half (remember, square duct comes in two halves) on top with the larger side facing down.
Now measure the length you need and use your snips to cut down to size.
Repeat this step with the other half of the duct.
Now lay the second piece on top of the first piece and line up the seams; using your screwdriver, gently pry the groove on the bottom piece open just enough so the top seam enters.
These seams are called Button-Lock, and when they line up, all it takes is a quick tap with the hammer along the whole length, and they should snap together and hold.
Now that you have a whole piece together, grab your folding bar and lay the 3/8″ groove over top of the side edge of the duct.
Fold this piece back 180 degrees, and repeat on the other side. You should be left with the top and bottom 1″ tabs and both sides 3/8″ tabs.
To join two lengths together, have your partner hold the opposite end so it doesn’t fall down, and line up the top and bottom edges with the existing s-cleat on the previously installed piece of duct.
Grab two pieces of drive cleat and trim them down so they are two inches longer than the height of the duct.
For example, if you are installing 24″x 10″ ducting, make each piece of drive 12″. Make a one-inch 90-degree bend at the bottom of both pieces and slide them up the 3/8″ folds on each side.
This will lock the sides together while the top and bottom are held together in the S-cleat.
The remaining one inch should be poking over the top of the duct, hit it with a hammer to fold down and secure the drive cleat.
⭐ Hanging Square Duct
These steps can be applied to a new ductwork installation or to existing ductwork.
The principle is the same for both.
Measure the distance from the bottom of the ceiling joist to the bottom of the ductwork.
Add two inches and cut the drive cleat to this length.
Fold one end out and the other end the opposite way.
I like using drive instead of s cleat for this because it is thinner and makes a cleaner bend.
Attach the cleat to the joist beside the duct with a drill and wood screws.
The cleat should be perfectly vertical.
The bottom fold should also be tight to the bottom of the duct and can be fastened with a tin screw to two.
These steps combined together should be enough to complete a whole trunk of square duct installation.
⭐ Assembling Round Duct
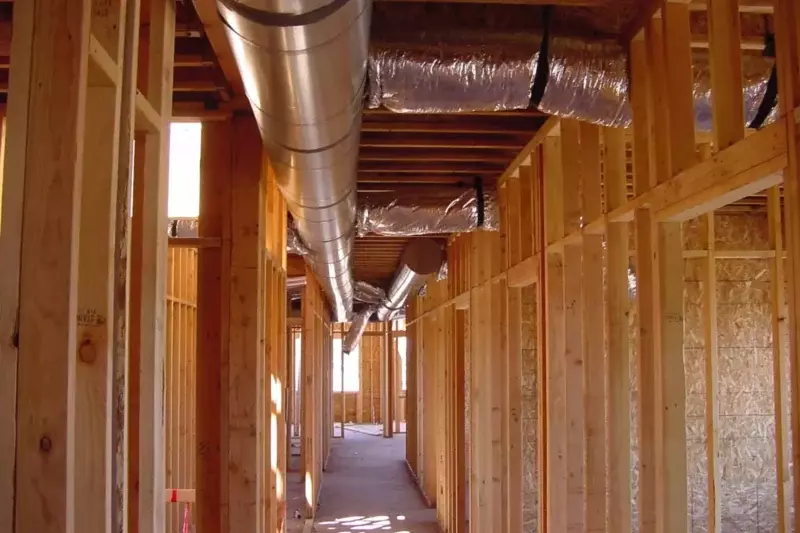
As mentioned before, a round duct is installed as a branch from the main trunk to supply air to certain parts of the house.
Remember, it is measured by the linear foot, often coming in 5′ lengths.
So when you get a price from the supplier for a round, don’t forget to multiply that by five to get the total cost.
The round duct is joined together by Snap Lock.
Make sure one end is evenly fit together and squeeze closed.
Once one part snaps together, move down the pipe snapping all the way to the end.
If you haven’t done this before, you may notice your forearms getting sore.
This is perfectly normal.
Fit the crimped end into the non-crimped end of the previously installed pipe, and screw in three tin screws an equal distance around.
Then using good quality mastic tape (some building codes require it), wrap a piece around the seam.
If you’re replacing one small section of pipe and don’t have much wiggle room to insert the 1 1/2″ crimped end, you can use something called a draw band connector to hold the butt joint together.
Seal this joint with the same methods of tin screws and new tape, and don’t forget to remove the old tape beforehand.
⭐ Common Mistakes

Now that you know the basics of installing ductwork and why you should replace it, we can go into some not-to-dos.
These generally fall under the category of poor planning, which is a slippery slope for an HVAC project of this size.
A bad initial plan will carry through the duct installation and most likely won’t be recognized until all the ductwork, materials, and HVAC equipment are installed.
Bad Airflow
You should install ductwork with the goal of using as straight lines as possible.
Reducing the number of zigs and zags in a duct installation will create a smoother airflow which can save average costs on your energy bill.
Poor Sealing
Your HVAC system performance can be drastically increased with proper sealing.
This applies to sheet metal transition gaps as well as anywhere on the ductwork system.
If you want your installation to look pro, use mastic and tin tape, they work the best for sealing leaky air joints.
If you want to look like a regular Joe, use duct tape; it usually loses its stickiness and peels off within a year.
Incorrect System Sizing
Your HVAC system and home ductwork have to be sized in accordance with each other.
If not sized correctly, you may experience problems with uneven temperatures and cause costly damage to your heating and cooling systems.
Too Few Return Air Vents
Sizing your HVAC equipment and supply ductwork properly will create a balanced airflow throughout the home. And this applies to the return air duct too.
Rooms in the house that need return air ventilation include all bedrooms, the living room, the hallway, and usually at least one in the basement.
This ensures the HVAC system can circulate air through all ductwork while heating or cooling, keeping you comfortable year-round.
⭐ Conclusion

In conclusion, replacing or installing ductwork can help homeowners address a range of issues, from dust accumulation to uneven temperatures and mold.
When considering replacing ductwork, it is important to have a professional inspect the HVAC system first and perform a load calculation to ensure the proper size ducts are installed.
When discussing ductwork installation with professionals, homeowners should be aware of terms such as plenum, main trunk, and branch lines.
Although assembling square sheet metal ducting can be tedious, a professional installation will result in a more efficient HVAC system and a more comfortable living environment.
Want to learn more about your home’s HVAC system? Feel free to check out our other HVAC articles!

