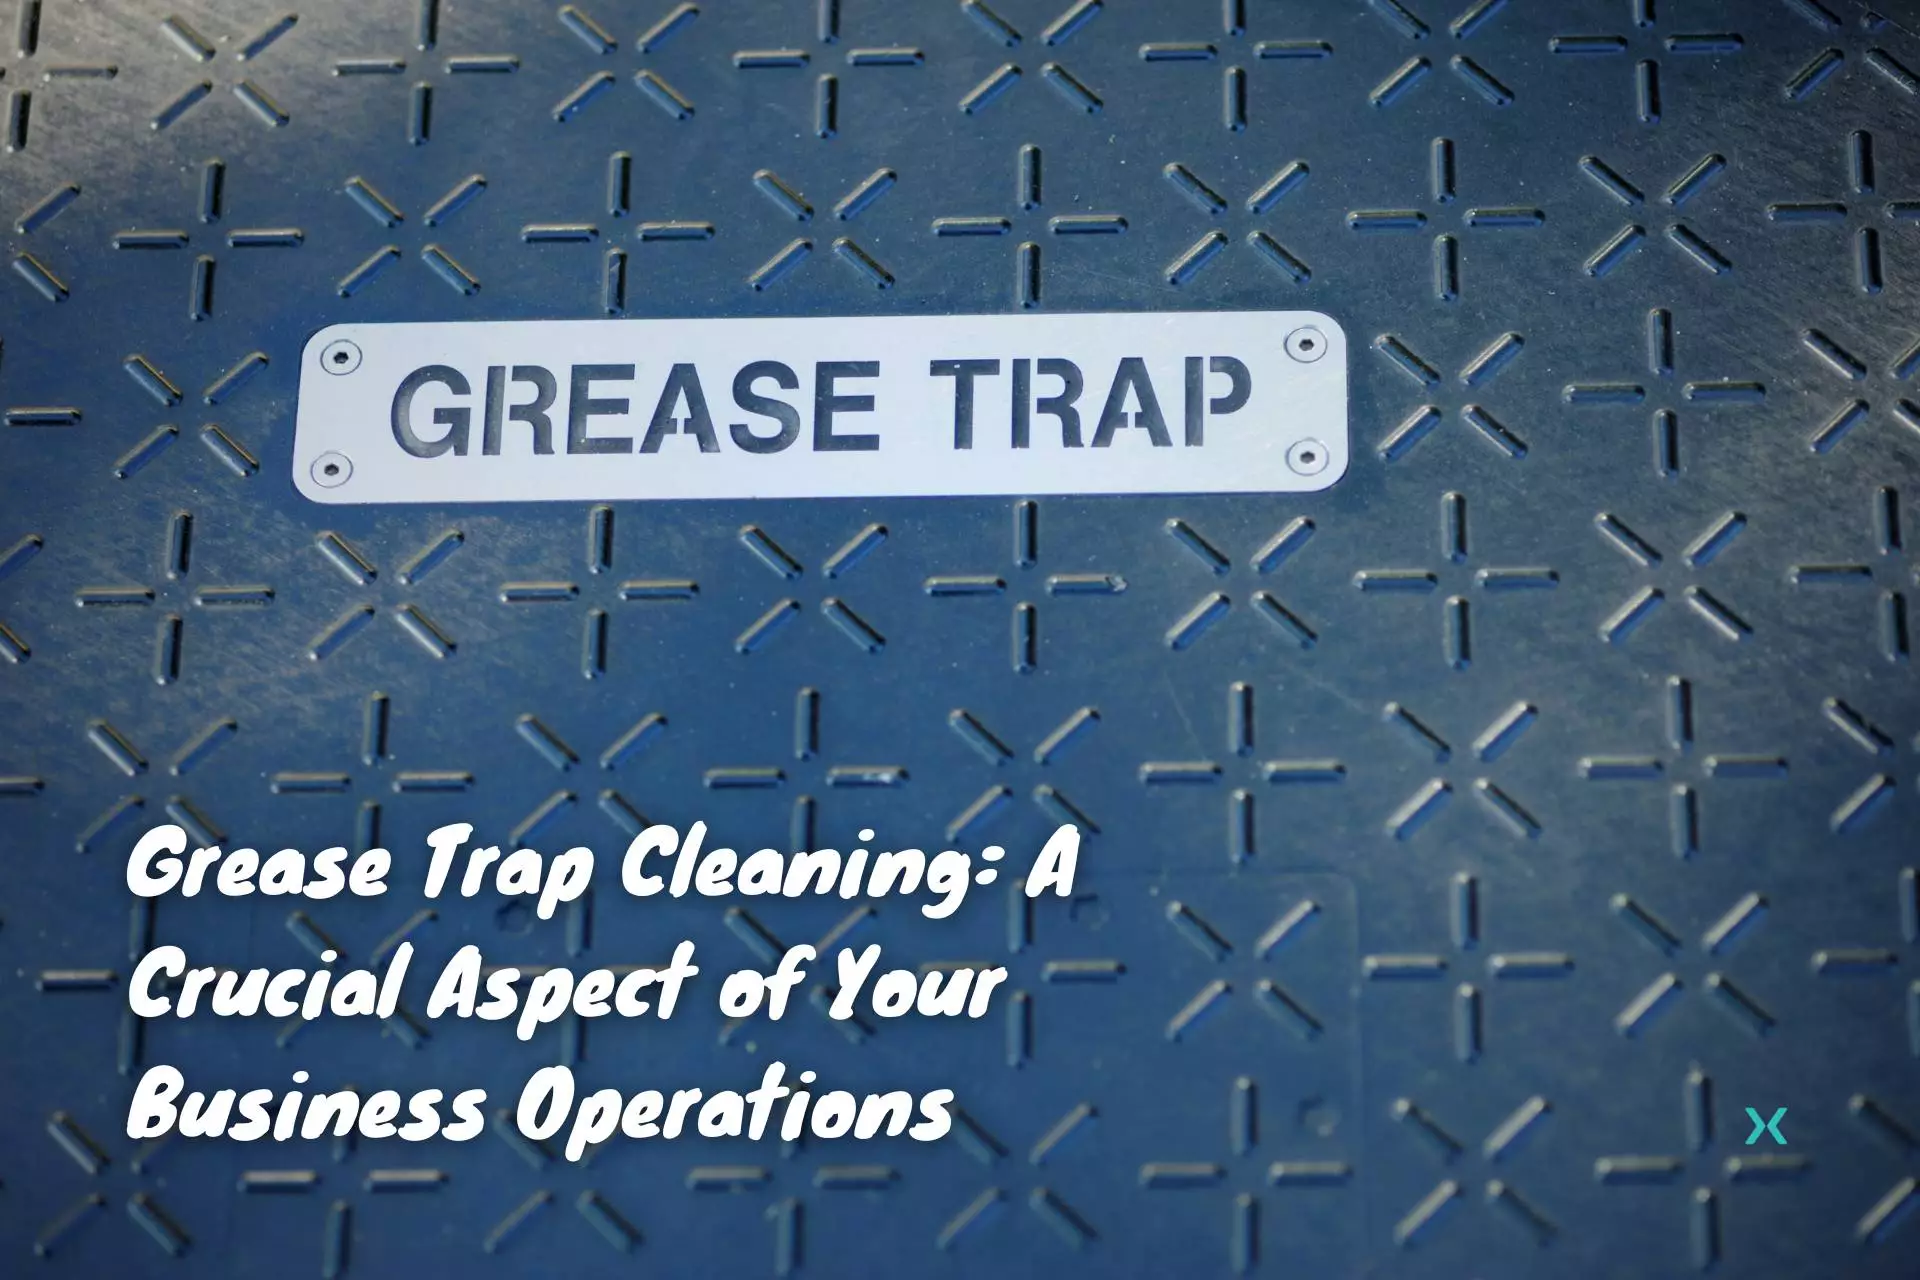
Grease Trap Cleaning: A Crucial Aspect of Your Business Operations
As a business owner, you know that grease traps play an important role in the day-to-day functioning of your business.
But do you know how important it is to keep them clean?
Grease trap cleaning isn’t typically at the forefront of most peoples’ minds, but grease trap issues can present a major roadblock to your productivity (and thus your bottom line!)
In this article, we’ll look at why it’s so important to regularly clean out your grease traps and the best ways to go about doing so – whether you have indoor grease traps or outdoor grease traps.
We’ll also discuss some tips on how to ensure that the process is as efficient and effective as possible.
Table of Contents
What Do You Need To Clean A Grease Trap?

Before beginning the process, it is important to have all the necessary supplies on hand.
Here is a list of what you will need in order to clean your grease trap successfully and safely:
- A crowbar (or alternative)
- A shop vacuum
- A scrub brush or a steel pot scrubber
- Rubber gloves
- A ruler for measuring the depth of the waste
- A bucket or container for collecting waste
- A degreasing solution like dish soap
- Nose plug if you don’t like the smell
Having these supplies ready will make cleaning out your grease trap much easier and safer.
🛑 STOP: Make sure you use any chemicals with caution, following safety instructions on the product labels.
The Step-by-Step Grease Trap Cleaning Process

Locate The Grease Trap
The best way to locate a grease trap is to look around the perimeter of any kitchen or sink drains.
Grease traps are usually located outside underneath or near a sink drain, and they are either installed above the ground or below.
Above-ground grease traps are usually made of metal and have a lid that can be opened for inspection and removal.
Below-ground grease traps are generally concrete boxes with an open lid that allows access to the interior of the box.
In certain cases, the lid of the grease trap may need to be uncovered in order to properly inspect them.
Remove the Cover
When removing the cover of a grease trap, the best method is to use a crowbar.
Place one end of the crowbar onto the edge of the lid and then carefully use the other end to pry up on the lid until it pops off.
It is beneficial to use a levering motion when doing this step in order to evenly spread out any force that may be put on the grease trap’s parts, especially the gasket.
If using a crowbar isn’t an option, then another tool with leverage, such as a screwdriver or large flathead screwdriver, can work just as well.
It is important to take your time and apply gentle pressure so that no damage occurs during this process.
Scoop out the FOG
Now that it’s time to scoop out the FOG (fat, oil, and grease), you will need to get your bucket or container ready.
Make sure that your gloves are on for protection while doing this, as well as any other protective items you may feel like wearing.
Scoop out the FOG that is in the trap with your hands or with a tool like a plunger or sponge.
Make sure to properly dispose of all the remaining grease and leftover waste into a trash bin after removing it from the trap – but not before reporting it in an Environmental Protection Agency (EPA) FOG report if you’re required to.
Scrub The Surfaces
Once all of the FOG has been scooped out of the grease trap, it is time to scrub the surfaces.
This should be done using a scrub brush or a steel pot scrubber, and a degreasing solution.
First, spray the entire surface area of the grease trap with the degreasing solution, allowing it to soak in for 10-15 minutes.
Then, take your scrub brush and begin to scrub away any stubborn residue that may be left behind.
It is important to be thorough when doing this so that any remaining FOG residue is removed from all surfaces within the grease trap.

Flush It Out
Once the grease trap has been cleaned and all surfaces have been scrubbed with a degreaser solution, it is time to flush out the system.
To do so, first, check to make sure that all hoses and connections are properly secured and in place.
Next, turn on the water supply and allow it to fill up the grease trap.
Once full, run it for at least ten minutes in order to thoroughly flush out any FOG residue that may remain inside the sewer line.
If everything clears and the water flows as it’s meant to, you’re good to move on to the next step.
Otherwise, you may need to clean the grease trap out again or may potentially have a problem with the trap itself.
Be sure to turn off the water supply when you are done flushing out the system, or you might run into some problems while reinstalling it!
Reinstall The Grease Trap
After the grease trap has been thoroughly cleaned and flushed, it is important to reinstall it correctly.
Begin by replacing the lid, taking care to use a levering motion in order to evenly spread out any force that may be put on the gasket.
Make sure all hoses and connections are securely fastened back in place, as loose or disconnected components can lead to future water pressure issues.
It is also beneficial to inspect the area around the grease trap in case of any potential leaks or damage that may have occurred during installation.
Once everything is in place, run some water through the trap for a few minutes in order to test out that everything is working properly before calling it complete.
Do You Need Professional Assistance?

Cleaning out your grease trap regularly is an important part of maintaining a successful business.
With the right supplies and following our step-by-step guide, you can easily do this yourself.
However, if you’re working on a large scale or you don’t have the time to handle it on your own, professional assistance may be necessary.
Fortunately, our team at Phyxter Home Services is here and ready to help – contact us today for any questions you have about grease trap cleaning and grease trap maintenance in North America!
📗 Have any questions that aren’t about regular grease trap cleanings? We’ve got the answers. Check out our other plumbing articles.
Related Reading: DIY Guide to 15 Common Plumbing Problems & Solutions
