Understanding how to remove a shower drain effectively and safely is a key home maintenance skill. This article provides a detailed walkthrough, from identifying the right tools and safety measures to executing the removal process. This guide ensures you handle the task efficiently, whether for addressing a blockage, maintenance, or replacement.
You’ll learn step-by-step methods to remove your shower drain without causing damage, emphasizing the importance of precision and care in each stage of the process. You’ll be equipped with practical know-how for successful shower drain removal by the end.
Table of Contents
How to Take Off Shower Drain in 5 Easy Steps
- Identify the Drain Type: Determine whether you have a strainer, linear, or point drain, as each type requires a specific removal approach.
- Safety Measures: Always wear protective gloves and goggles, and ensure the work area around the shower drain is dry to prevent slipping or accidents.
- Tools and Preparation: Collect necessary tools such as screwdrivers, pliers, and a wrench. Clean the area around the drain before beginning.
- Clog Removal: Before attempting removal, clear any clogs using methods like hot water, baking soda and vinegar, or a drain snake.
- Careful Removal: Gently unscrew or pry open the drain, using lubricant for any stuck parts. Proceed with patience to avoid damaging the drain or the shower base.
Know Your Shower Drain

Types of Shower Drains
In household bathrooms, you’ll typically encounter several types of shower drains, each with unique features that can influence the removal process. Here are the main types:
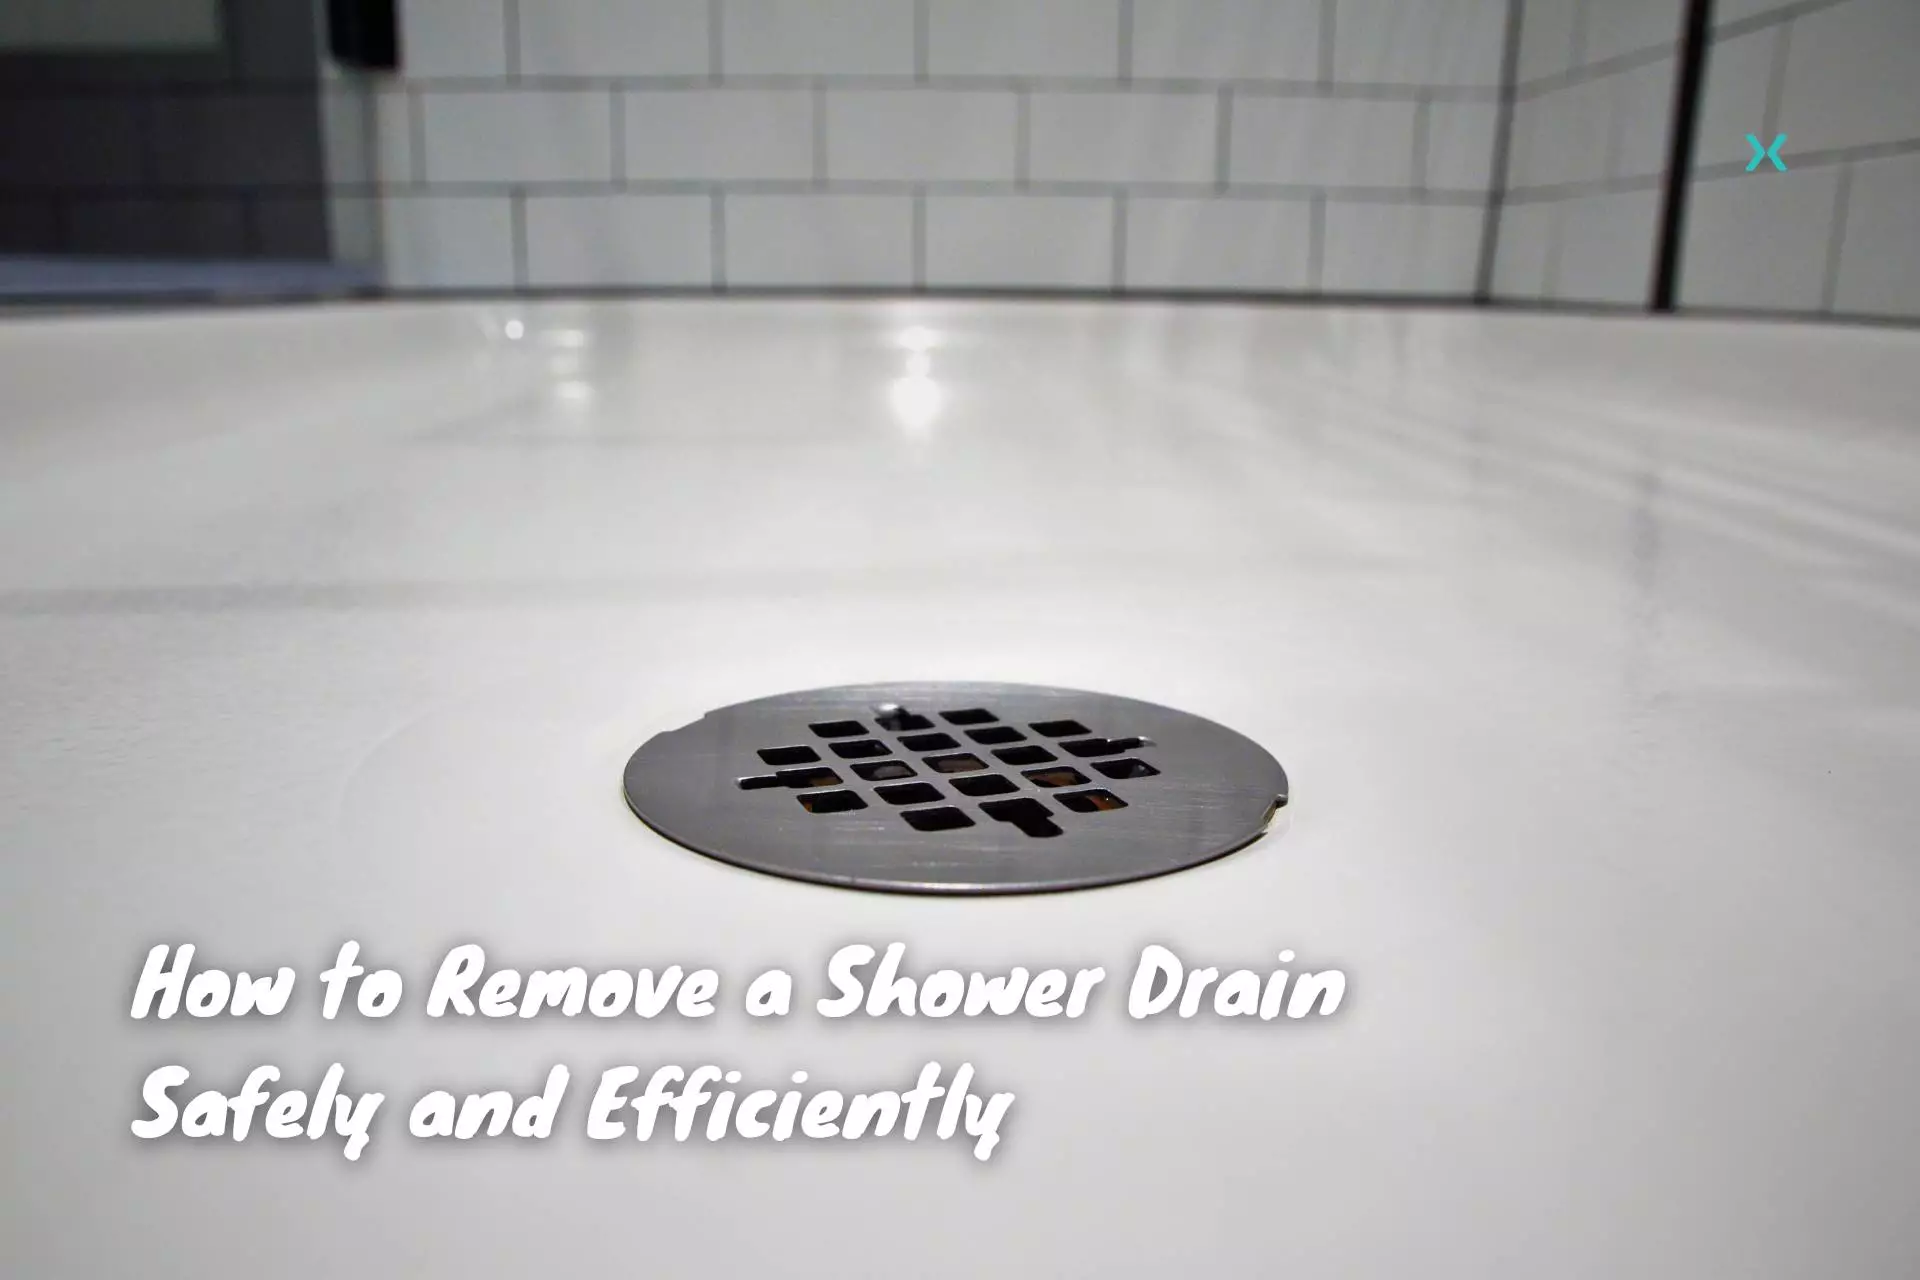
- Strainer Drains: Often found in residential showers, these drains have a strainer over the top to catch debris. They are usually screw-fixed, making removal relatively straightforward – unscrew and lift.
- Linear Drains: These are elongated drains stretching across a shower floor section. Due to their design, they may require careful detachment from the surrounding tile or flooring.
- Point Drains: These are standard round drains located at the lowest point of the shower floor. Depending on the model, they might be screw-in types, need to be twisted or pried open, or even feature a drain stopper.
- Hidden Drains: Increasingly popular in modern designs, these drains are concealed beneath a tileable cover. The removal process can be more complex, requiring carefully lifting the drain cover without damaging the surrounding area.
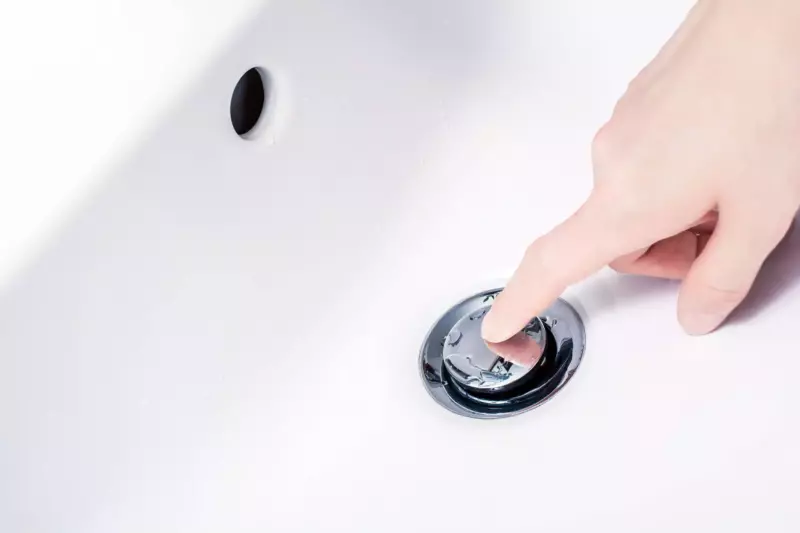
- Drains with Drain Stoppers: Some shower drains include a built-in drain stopper mechanism, allowing you to plug the drain to hold water in the tub or shower. These drains may have specific removal procedures to access and maintain the stopper mechanism.
Each type requires a slightly different approach to removal, emphasizing the need to understand the specific drain type in your shower for a safe and effective removal process.
Signs of a Shower Drain Needing Removal
Recognizing when a shower drain needs removal is key for maintaining an efficient bathroom plumbing system. Common signs include:
- Slow Drainage: The most obvious sign is water pooling and draining slowly, indicating a clog deep within the drain that simple plunging can’t fix.
- Visible Damage: Cracks, rust, or corrosion on the drain cover or visible parts of the drain may necessitate removal for repair or replacement.
- Foul Odors: Persistent unpleasant smells emanating from the drain can signal deep-set blockages or other issues that require the drain to be removed for cleaning or repair.
- Frequent Clogs: If clogs occur regularly despite routine cleaning, it could mean deeper issues within the drain system, necessitating removal for a thorough inspection and potential repair.
- Renovation or Upgrade: For aesthetic upgrades or bathroom renovations, removing the existing drain might be necessary to install a new style or type of drain.
Early detection of these issues can prevent more serious plumbing problems. Regular inspection and maintenance can help identify these signs early, ensuring timely intervention.
Tools and Materials Needed
For removing a shower drain effectively, a specific set of tools and materials is required. These include:
- Screwdrivers: Often necessary for unscrewing a drain cover or grates, especially in strainer-type drains.
- Pliers: Needle-nose pliers can be handy for grasping and removing certain types of drain covers or for handling small components within the drain.
- Wrench: Used for loosening and removing drains that are screwed or bolted down. An adjustable wrench is particularly useful.
- Drain Snake or Auger: Essential for clearing out clogs deep within the drain before removal.
- Lubricant (like WD-40): Helpful for loosening tight or corroded parts, making the removal process smoother.
- Safety Gloves: These are recommended to protect hands from sharp edges and maintain hygiene when dealing with potentially dirty or rusty components.
- Towels or Cloths: Useful for cleaning the area around the drain and for drying parts during the process.
- Utility Knife: This may be needed if sealant or caulking is present around the drain, which must be carefully cut away.
- Bucket or Container: To catch any residual water or debris that may come out during the drain removal process.
- Flashlight or Work Light: Essential for better visibility, especially in poorly lit bathrooms.
These tools and materials ensure a smooth and safe removal process. Additionally, having a camera or smartphone handy to take pictures before disassembly can assist in proper reassembly or in case you need to consult a professional.
Safety Precautions
Before starting the shower drain removal process, it’s important to adhere to several safety precautions:
- Wear Protective Gear: Always use safety gloves to protect your hands from sharp edges and dirt. Safety goggles are also recommended to prevent any debris from getting into your eyes.
- Ensure a Dry Work Area: To prevent slips and electrical hazards, make sure the shower area is dry before beginning the work.
- Turn Off Water Supply: Although not always necessary, it’s a good practice to turn off the water supply to the shower to prevent any accidental spillage or leakage.
- Check for Electrical Lines: If you plan to use any power tools or if the work area is close to electrical outlets, ensure there are no potential electrical hazards.
- Proper Lighting: Ensure adequate lighting in the bathroom to avoid working in a dimly lit environment, which can lead to accidents.
- Keep Tools Organized: Keep your tools and materials organized and within reach to avoid any accidental slips or injuries.
- Ventilation: Ensure good ventilation, especially if using chemical cleaners or lubricants, to avoid inhaling fumes.
Taking these precautions will help ensure a safe and secure working environment while removing your shower drain.
Step-by-Step Guide to Removing a Shower Drain

Preparing the Work Area
Preparing the work area for shower drain removal involves a few key steps to ensure efficiency and prevent damage:
1. Clear the Area: Remove all personal items from the shower, like shampoo bottles and shower mats. This provides clear access to the shower pan and drain and prevents any items from getting damaged or causing obstruction.
2. Clean the Shower Floor: A clean working area provides better visibility and prevents slipping on soap residue or other debris.
3. Gather Your Tools: Have all the necessary tools and materials, such as screwdrivers, pliers, and gloves, ready and within easy reach.
4. Lay Down Protective Covering: Place a towel or cloth around the work area. This catches debris or water and protects the shower floor from scratches.
5. Ensure Adequate Lighting: Good visibility is crucial for precision work. If the bathroom lighting is insufficient, set up an additional light source.
6. Organize the Space: Keep your workspace tidy and organized. This helps prevent losing small parts like screws and enhances overall safety.
Following these steps will create an organized and efficient environment for removing your shower drain.
Removing Clogs
Before beginning the removal of a shower drain, it’s crucial to address any clogs. Here’s a step-by-step guide incorporating common and alternative methods:
Hot Water: Start by pouring water close to boiling down the drain. This can help dissolve soap scum and loosen some types of clogs. Be aware that boiling water can damage certain types of pipes.
Baking Soda and Vinegar: Following the hot water, add a half cup of baking soda into the drain, followed by an equal amount of vinegar. This natural chemical reaction can break down hair and soap scum and greasy or soapy build-ups. Cover the drain and let the mixture sit for about 10 minutes.
Hot Water Flush: After the baking soda and vinegar treatment, flush the drain with more hot water to remove the loosened debris.
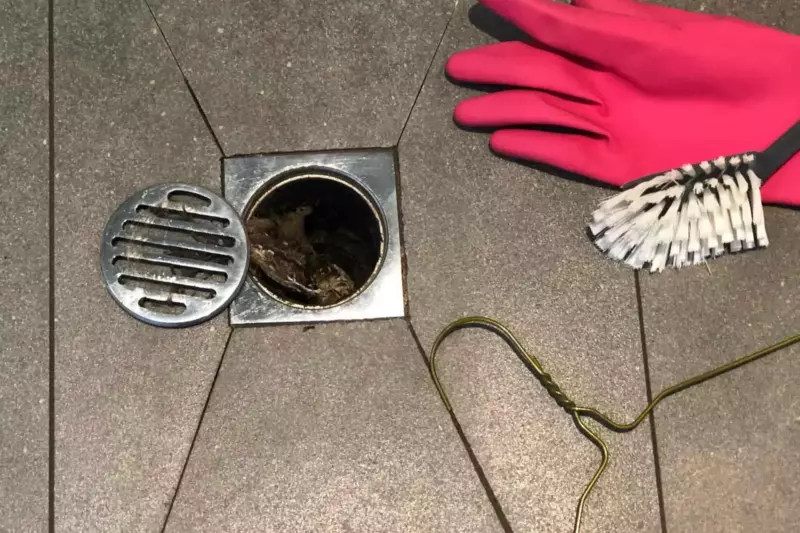
Manual Removal: If the clog is near the surface, use needle-nose pliers or a bent wire hanger to reach in and pull out hair or other clogged blockages.
Plunge the Drain: Using a flat-bottomed plunger, create a seal over the drain and plunge several times. This can help dislodge clogs further down the drain flange pipe.
Drain Snake or Auger: For deeper clogs, a drain snake or auger can be used to reach down into the drain and either pull out or break apart the clog.
Enzyme Drain Cleaners: Consider using enzyme-based drain cleaners as a less aggressive and eco-friendly alternative. They break down organic material in the clog over time without harsh chemicals.
It’s recommended to try these steps in order, starting with the simplest solutions. If the clog persists, it may require professional assistance. Remember, clearing the clog before proceeding with drain removal is essential for a smoother process.
Lubricating the Drain
Lubricating the shower drain is essential for a smooth removal process, particularly for long-installed drains prone to rust and mineral buildup. Recommended methods include:
- Silicone-based Lubricant: Safe for most drain types, it preserves plastic and rubber components.
- WD-40: Ideal for freeing rusted metal components, especially effective for metal drains.
- Penetrating Oils: Products like PB Blaster or Liquid Wrench are designed for rusted or seized parts, perfect for long-unused drains.
- Plumber’s Grease: Apply to specific parts for smoother disassembly.
- Natural Alternatives: A mixture of vinegar and baking soda followed by hot water can help in a pinch.
Apply the lubricant around the drain’s edges, allowing it to sit for minutes to penetrate and loosen components, easing removal and protecting the drain and shower base from damage. Use the right amount of lubricant and allow sufficient time before attempting removal.
Unscrewing and Removing the Drain
Unscrewing and removing a shower drain involves a few critical step:
1. Identify Drain Type: First, determine if the drain is a screw-in type. If so, locate the screws on the drain cover.
2. Unscrewing: For screw-in types, use a screwdriver to remove the screws carefully. Keep them in a safe place to avoid losing them.
3. Prying Open: If the drain cover is not screwed in, it might need to be pried open. Use a flathead screwdriver or similar tool to lift or push the drain cover gently. Be careful not to scratch or damage the shower base.
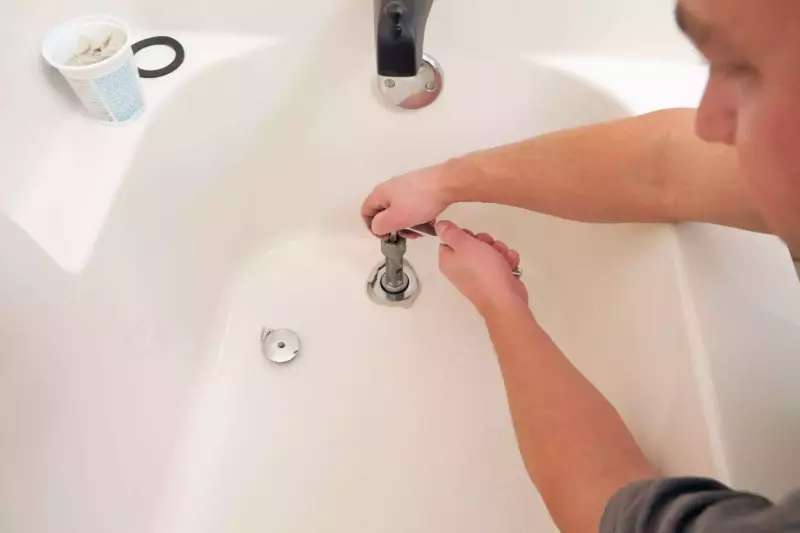
4. Using Pliers: Pliers are essential in specific situations, especially with pop-up or twist-off tub drain covers. By gripping the drain from opposite sides with two needle-nose pliers, apply equal force to turn it counterclockwise.
5. Apply Lubricant if Necessary: If the drain or cover is stuck, apply some lubricant to ease the unscrewing process. Let the lubricant sit for a few minutes before trying again.
6. Inspect for Caulking: In some cases, caulking around the drain may need to be carefully cut away with a utility knife before removing the drain.
7. Lift Out the Drain: Lift out the drain carefully once unscrewed. If it resists, check for any additional screws or sealant that might be holding it in place.
8. Clear Debris: Clear debris or buildup from the drain pipe opening and the removed drain part after removal.
Remember, each drain type might require a slightly different approach, so adjust these steps accordingly. Additionally, take your time and use gentle force to avoid damaging the drain or shower base.
Handling Stubborn Drains
When dealing with stubborn drains that resist removal, here are some effective techniques, including both common solutions and innovative methods:
- Reapply Lubricant: If initial lubrication doesn’t work, apply more and let it sit for a longer period. This can help penetrate and loosen the drain components further.
- Heat Application: Gently applying heat around the drain with a hair dryer can expand the metal, making it easier to unscrew or remove.
- Tap Around the Drain: Sometimes, lightly tapping around the drain hole and perimeter of the drain with a rubber mallet can help break any corrosion or sealant bonds.
- Use of Pipe Wrench: For drains that are particularly tight, a pipe wrench can provide the extra leverage needed. Ensure that the finish of the drain and shower base is protected with a cloth or rubber pad.
- Chemical Penetrants: Consider using a commercial-grade penetrating oil or rust dissolver. Apply it around the drain, wait, and then try removing the drain again.
- Vibration Method: Use a hand-held electric tool like a vibrating multi-tool to vibrate around the drain gently. This can help loosen the corrosion without applying excessive force.
- Professional Tools: Sometimes, plumbers use special drain removal tools designed for stubborn drains. If available, these can be a solution for particularly challenging situations.
- Seek Professional Help: If all else fails, it might be time to call a professional plumber. They have the experience and tools to handle stubborn drains without causing damage.
These methods, especially when combined, can effectively address stubborn drains. Remember to exercise patience and caution, as applying too much force can damage the drain or the shower base.
Troubleshooting Common Issues

Troubleshooting common issues during shower drain removal is crucial for a smooth process. Here are some typical problems and their solutions.
- Drain Cover Won’t Budge: If the drain cover is stubborn, reapply the lubricant and let it sit longer. Gently tap around it with a rubber mallet, or use the correct screwdriver size for screw-in types.
- Corrosion and Rust: For rusted or corroded drains, apply a potent rust dissolver or penetrating oil. Use gentle heat application (like from a hair dryer) with caution on metal components.
- Stripped Screws: Overcome stripped screws by using a rubber band for added grip or employing a screw extractor tool.
- Drain Assembly Won’t Come Out: Remove all fasteners, and if they’re still stuck, gently wiggle them back and forth to loosen buildup or corrosion. Avoid excessive force.
- Leakage After Reassembly: Ensure all parts are correctly aligned and tightly secured. Replace worn-out gaskets or apply new plumber’s putty or sealant if necessary.
- Protecting the Shower Base: Prevent shower base damage by using protective materials under tools and working gently when prying or tapping.
- Identifying Drain Type: When uncertain about the drain type, consult online resources or manufacturer’s manuals or compare a photo with online examples.
- Tools Not Working: If standard tools don’t work, consider specialized plumbing tools like a drain wrench designed for stubborn or unusual drains.
These solutions address common issues encountered during the drain removal process and can help avoid potential complications, ensuring a successful and damage-free removal.
Preventative Maintenance Tips

Maintaining your shower drain is essential to prevent future plumbing issues and ensure the longevity of your bathroom fixtures. Here are some preventative maintenance tips:
1. Regular Cleaning: Clean your shower drain weekly to remove hair, soap scum, and other debris. This can be as simple as using a drain strainer to catch hair and other particles.
2. Natural Drain Cleaners: Monthly, use a mixture of baking soda and vinegar followed by hot water to break down any potential clogs naturally. This is a non-toxic way to keep drains clear.
3. Avoid Chemical Cleaners: Regular use of harsh chemical drain cleaners can damage pipes over time. Opt for enzyme-based cleaners that are gentler on your plumbing.
4. Hot Water Flush: Regularly flush the drain with hot water to clear away any build-up. This is particularly effective after using oily bath products.
5. Inspect Regularly: Periodically check the drain for signs of rust, corrosion, or damage. Early detection of these issues can save costly repairs later.
6. Professional Inspection: Consider having a professional plumber inspect your drain system annually. They can identify and address issues that may not be apparent to the untrained eye.
7. Use Hair Catchers: A simple hair catcher can prevent many potential clogs. Make it a habit to clean it out after each shower.
8. Mind What Goes Down the Drain: Avoid letting small objects, excessive hair, and non-biodegradable items go down the drain.
9. Sealant Check: Regularly check the sealant and grouting around the drain. Cracks or gaps can lead to shower drain leaks and water damage.
10. Educate Household Members: Ensure everyone in the household knows what shouldn’t go down the drain to prevent accidental clogs.
By incorporating these practices into your regular cleaning routine, you can significantly reduce the likelihood of drain issues and maintain a healthy plumbing system.
Conclusion

As we conclude this shower drain removal and maintenance guide, remember the importance of handling such tasks with care and precision.
If you’re facing any plumbing challenges or if you prefer professional assistance, Phyxter Home Services is here to help. With its wealth of knowledge and extensive experience, our team is well equipped to address all your plumbing needs.
We invite you to check out our other plumbing articles for more insights and expert advice. To ensure we can serve you, visit our plumbing services page to check if Phyxter Home Services is available in your area.
With a commitment to quality and customer satisfaction, we’re your go-to source for reliable home plumbing solutions. Contact us today to experience the expertise and reliability that Phyxter Home Services offers.

