Practical Tips For Insulating Outdoor Water Pipes
You wake up on a chilly winter morning and go to the kitchen for that morning cup of coffee, only to find that your tap echoes a hollow sound – silence. Panic sets in.
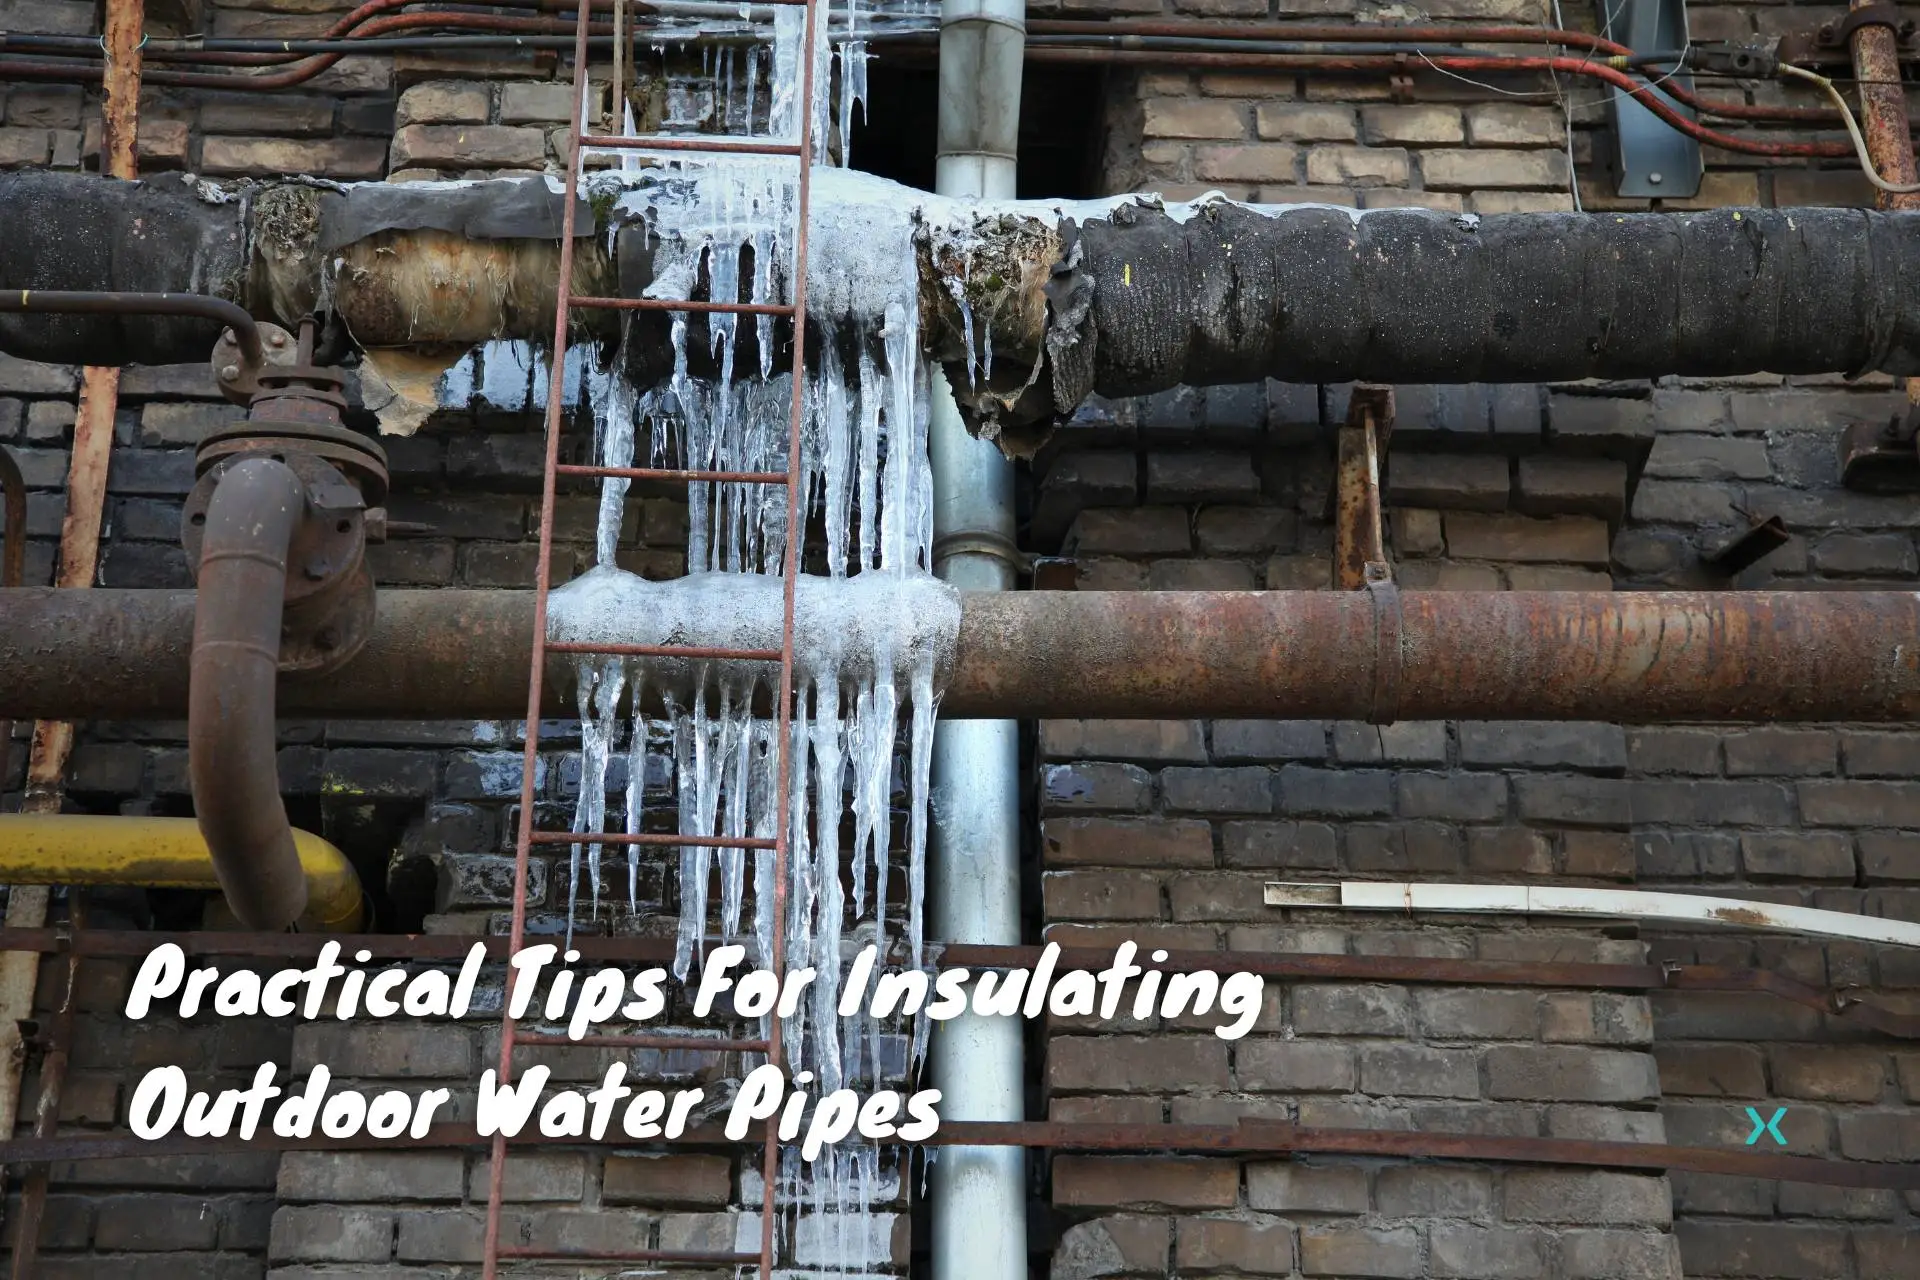
The cause? A frozen outdoor water pipe.
Welcome to the flip side of winter, where something as simple as water in your pipes transforms into an ice block, halting your daily routine and potentially causing expensive damage.
By the end of this article, you’ll know exactly how to prevent this icy infiltration and keep your home running smoothly, even in the coldest of winters.
Table of Contents
❄️ Why Insulate Outdoor Water Pipes?

Insulating outdoor water pipes is generally a good practice for homeowners, particularly in regions that experience freezing temperatures.
The insulation serves as a protective layer that keeps the cold air from making direct contact with otherwise exposed pipes, reducing the risk of frozen pipes and subsequent bursts.
Insulating your outdoor water pipes can even be beneficial in milder climates.
It curbs heat loss from hot water pipes and condensation on cold water pipes, helping you maintain optimal water temperature more efficiently.
📗 Related Reading:
- How to Winterize Pipes to Protect Your Home
- What is an Outdoor Freeze Proof Faucet, and How Does It Work?
❄️ Hot Water Pipes vs. Cold Water Pipes

When it comes to insulating water pipes, what you’re protecting against varies based on whether you’re dealing with hot water pipes or cold water pipes.
For hot water piping, the primary objective is to minimize heat loss.
By insulating these pipes, you ensure your hot water reaches your faucets and appliances warm, improving energy efficiency and saving on utility bills.
On the other hand, insulating cold water pipes primarily aims to prevent pipe freezing in colder climates.
But it’s not just about freezing temperatures; condensation is another concern for cold water pipes, particularly in humid climates.
Insulation can prevent this condensation, which, left unchecked, could lead to corrosion over time and potential damage to surrounding areas.
❄️ Equipment Needed For Installation

To successfully insulate your outdoor water pipes, you will need the following equipment:
- Insulation tubes: Choose a material suited to your climate and the types of pipes you have. Foam and fiberglass are popular choices.
- Utility knife: To cut the insulation tubes to the correct length.
- Duct tape or cable ties: To secure the insulation around your pipes.
- Gloves: To protect your hands during the installation process.
- Measuring tape: To measure the length and diameter of your pipes, ensure that you purchase the correctly sized insulation.
❄️ Types Of Insulation & How To Install Them
🧰 Foam Pipe Sleeves

Foam pipe sleeves are an effective and commonly used type of outdoor pipe insulation.
These sleeves are essentially tubular sections of foam insulation with a slit along the side, allowing it to be quickly wrapped around a pipe.
Made from closed-cell polyethylene foam, they offer excellent insulating properties and high moisture resistance, meaning they won’t absorb water.
This is particularly beneficial for outdoor pipes exposed to weather elements.
Foam pipe sleeves are available in various sizes to match the diameter of your pipes, ensuring a snug fit that minimizes heat loss in hot water pipes and prevents freezing and condensation in cold water pipes.
🛠️ How To Install
First, ensure you have chosen the correct size of foam pipe sleeves that snugly fit your pipes’ diameter.
Start by cleaning the pipe surface to remove any dirt or grease that could compromise the insulation’s effectiveness.
Once the pipe surface is clean, open the pre-cut slit of the foam pipe sleeve and wrap it around your pipe.
Make sure the entire length of the pipe is covered, and overlap the ends of two sleeves if one isn’t long enough.
Secure the sleeve to the pipe using high-quality duct tape, focusing mainly on the seams and joints, and repeat until everything is insulated.
🧰 Outdoor Faucet Covers

Outdoor faucet covers are specially designed protective enclosures that you can place over your external faucets and hose bibs to shield them from freezing temperatures.
Constructed from durable waterproof materials such as insulated foam or plastic, these covers provide an extra layer of protection, trapping heat and preventing cold air from causing the water inside the faucet to freeze and potentially cause damage.
They are easy to install and a cost-effective way to protect your outdoor water outlets, especially during the cold winter months.
Additionally, they are reusable, making them a sustainable choice for homeowners looking to weatherproof their homes effectively.
🛠️ How To Install
Installing covers for outdoor faucets is a breeze, even for the novice DIY homeowner.
First, ensure that all hoses and attachments are disconnected from the faucet.
Once that’s done, place the cover over the faucet, ensuring it fits snugly and covers the entire faucet.
Most covers come with a strap or a loop attached.
Pull this strap tight to secure the cover and make a weatherproof seal.
That’s it! And remember to keep the cover in place until the risk of freezing temperatures has passed, or you might undo all your hard work!
🧰 Pipe Wrap Insulation

Pipe wrap insulation is another excellent choice for protecting exposed pipe, particularly useful for insulating irregularly shaped pipes.
It consists of a flexible insulating material, such as rubber pipe insulation tape or bubble film pipe wrap, that can be wrapped around a pipe, conforming to its shape and providing comprehensive insulation.
This makes it a versatile option that can adapt to various pipe sizes and configurations.
Not only does pipe wrap insulation prevent freezing and condensation in cold water pipes, but it also reduces heat loss in hot water pipes, making your home’s plumbing more energy-efficient.
🛠️ How To Install
To install pipe wrap insulation, start by measuring the length of the pipe you wish to insulate.
Cut the appropriate amount of insulation from the roll, taking care to make clean, square cuts.
Peel back the backing from the adhesive side of the insulation and carefully wrap it around the pipe, starting at one end and moving towards the other.
Overlap the edges of the insulation by at least half an inch to ensure a tight seal.
Secure the insulation with high-quality duct tape at regular intervals, and pay special attention to bends and corners, wrapping them thoroughly.
For outdoor installations, consider covering the insulation with a protective layer of plastic wrap to shield it from moisture and UV damage.
❄️ Conclusion

Insulating your outdoor water pipes is a crucial task every homeowner should undertake to prevent potential damage during freezing weather conditions.
With proper insulation, you not only prevent frozen and burst pipes but also enhance energy efficiency, which can lead to significant cost savings in the long run.
If you’re interested in installing pipe insulation but don’t have the confidence or time to do it, contact us at Phyxter Home Services.
We offer comprehensive plumbing services across North America; no matter the state of your pipes, we have the solution for you.
Have any other burning questions? Odds are we’ve written an article about it – check them out here.
