No Cold Water in Shower?
Have you ever jumped in the shower expecting a nice, cool rinse only to be suddenly struck with a wave of scalding hot water?
While such a situation may seem daunting, you don’t need to worry. There’s a relatively easy solution to this problem that won’t burn a hole through your wallet.
You don’t need to be a seasoned plumber – with a few tools, a little time, and this step-by-step guide, you’ll have your invigorating cold shower back in no time.
So, let’s roll up our sleeves and get started, shall we?
Table of Contents
📗 Key Takeaways
- The absence of cold water in your shower is likely due to a defective pressure balancing valve, which can be replaced following a step-by-step guide.
- To replace the valve, you’ll need to shut off the water supply, remove the shower handle and plate, clean the area, and install a new cartridge.
- Always ensure you’re using the correct replacement parts for your specific shower system to avoid further complications.
- While most homeowners can tackle this task, professional assistance is available from your local plumber if you’re uncomfortable with DIY tasks.
The Most Likely Culprit: A Defective Pressure Balancing Valve
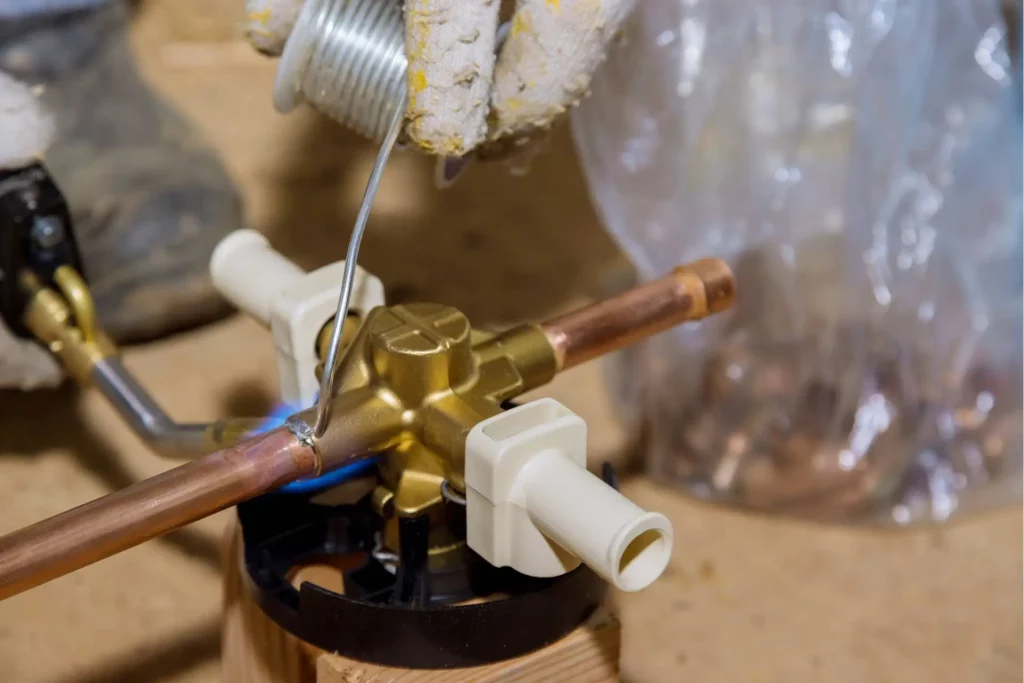
When there’s no cold water supply in the shower, pressure-balancing valves are often the culprit.
This little device regulates the water pressure between your hot and cold water pipes to give you that blissful, warm shower you love.
But when it wears out or gets clogged, it can act like a bouncer, keeping the cold water line out while letting the hot water line through.
So, if you’re only getting hot (or cold) water from your shower, your pressure balancing valve might signal it’s time for a replacement.
No need to panic, though! With some elbow grease and the right tools, you can tackle this task and bring balance back to your shower.
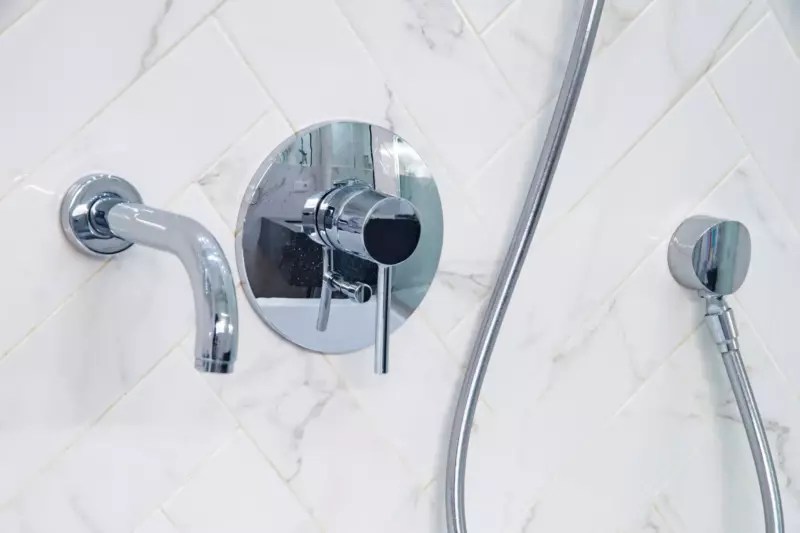
How to Replace The Valve Cartridge
Turn Off The Water Supply & Prepare The Area
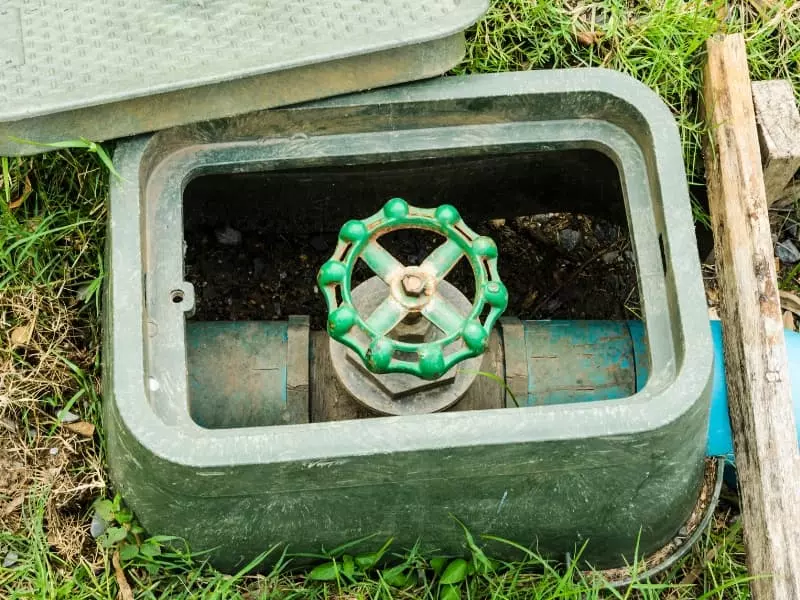
First, you need to shut off the water supply to your shower. This might be as simple as turning a nearby valve, or you might need to shut off the main water supply for your house.
Grab a cover for your shower drain – this is an important step you don’t want to skip.
We all know how pesky those tiny screws and parts can be, and the last thing you want is for them to take a one-way trip down the drain.
Remove The Shower Handle and Plate
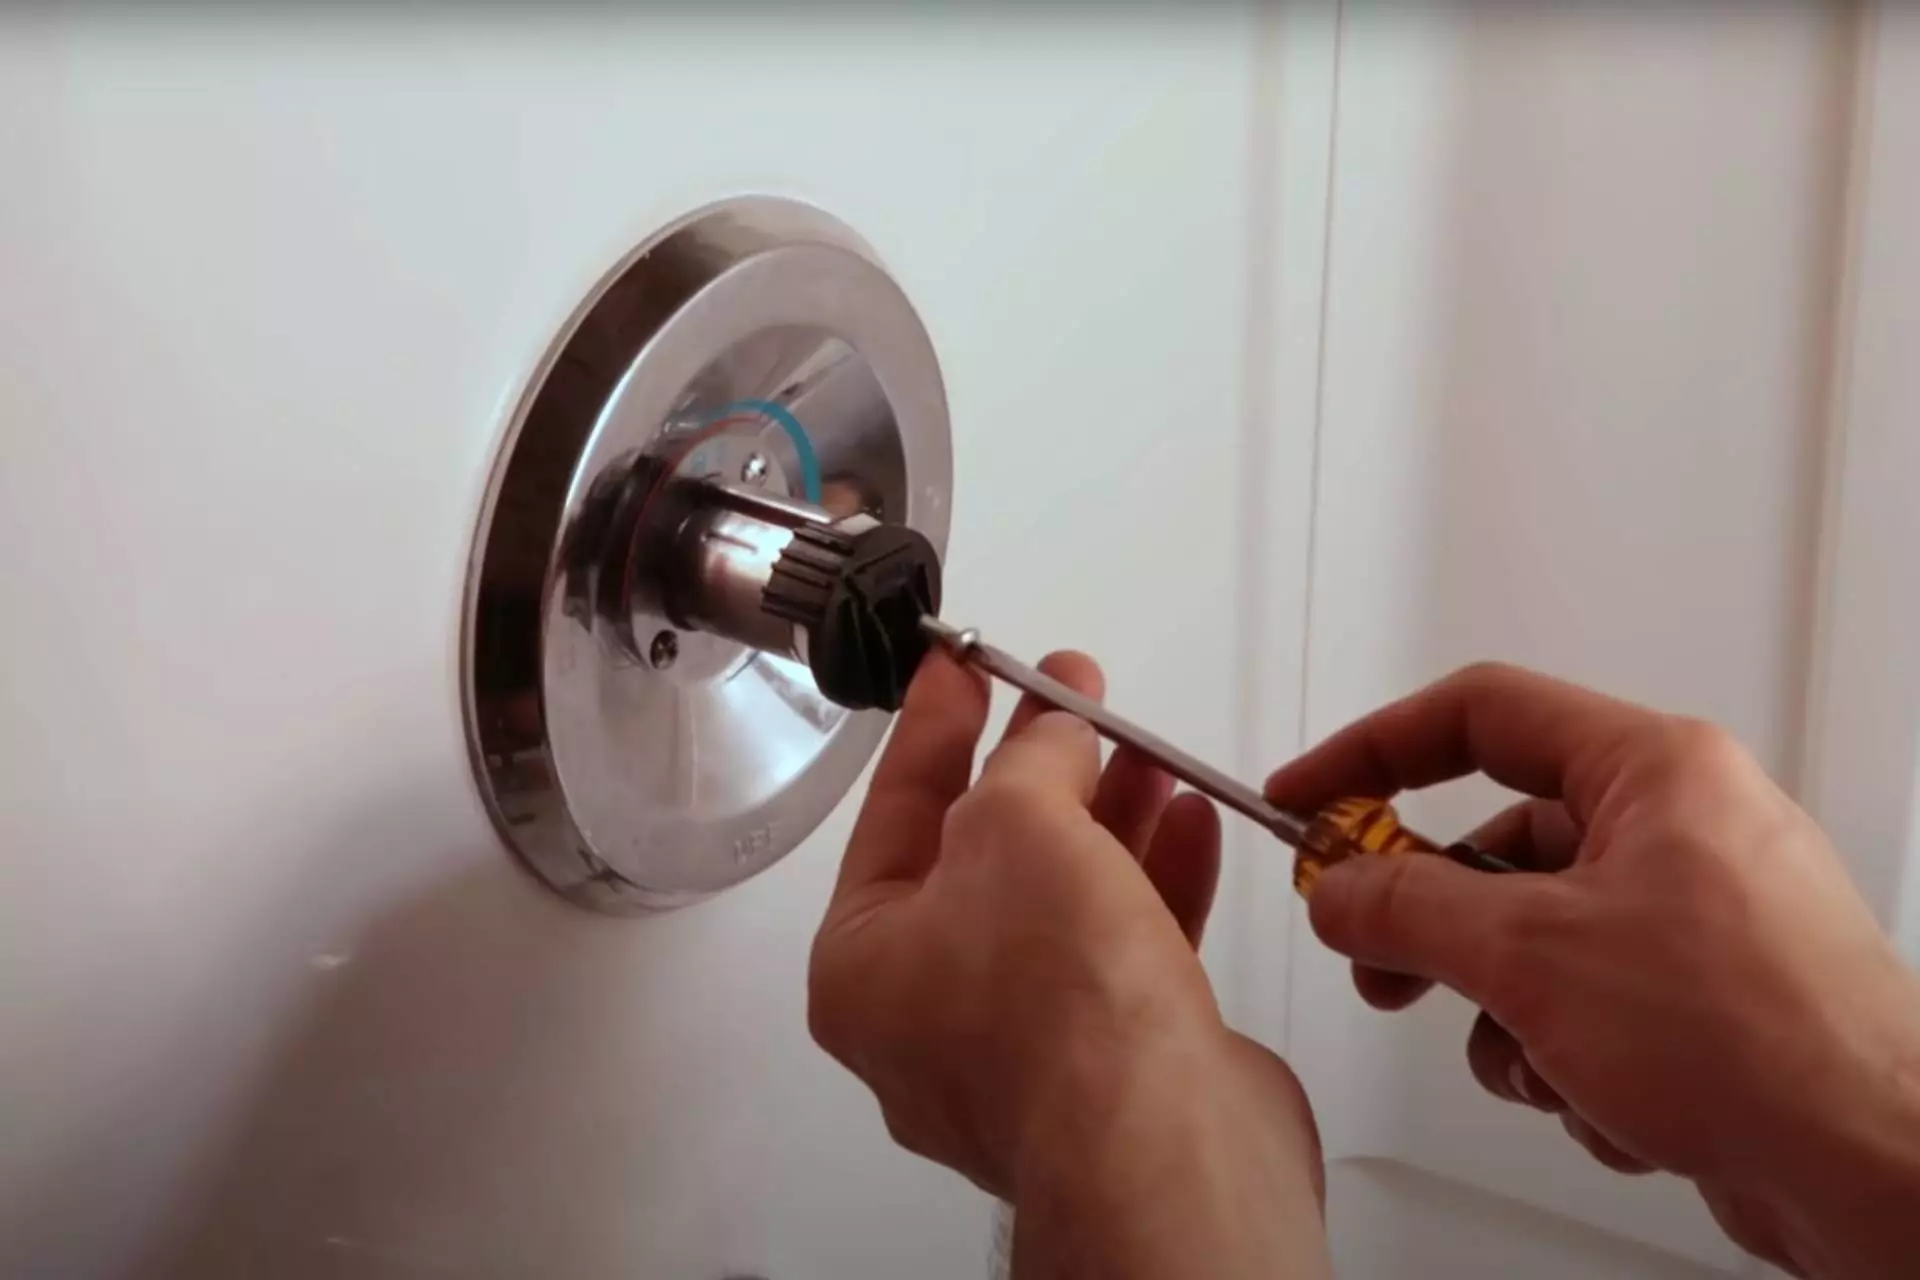
The next step in our mission is to take off the shower handle and the plate.
Usually, the handle is held in place by a screw. Look for a small, often hidden, cap on the handle. It’s like a secret door, hiding the screw inside.
Once you find it, pop it open using a flathead screwdriver.
Beneath it, you’ll discover the screw that’s holding your handle in place.
Use a Phillips-head screwdriver to unscrew it, but be gentle and patient!
We don’t want to strip the screw. Once the screw is out, the handle should slide off.
Up next, the plate. This is typically secured with a couple of screws.
Unscrew them, and carefully remove the plate. Voila! You now have access to your pressure-balancing valve.
Remove The Interior Parts And Clean The Area
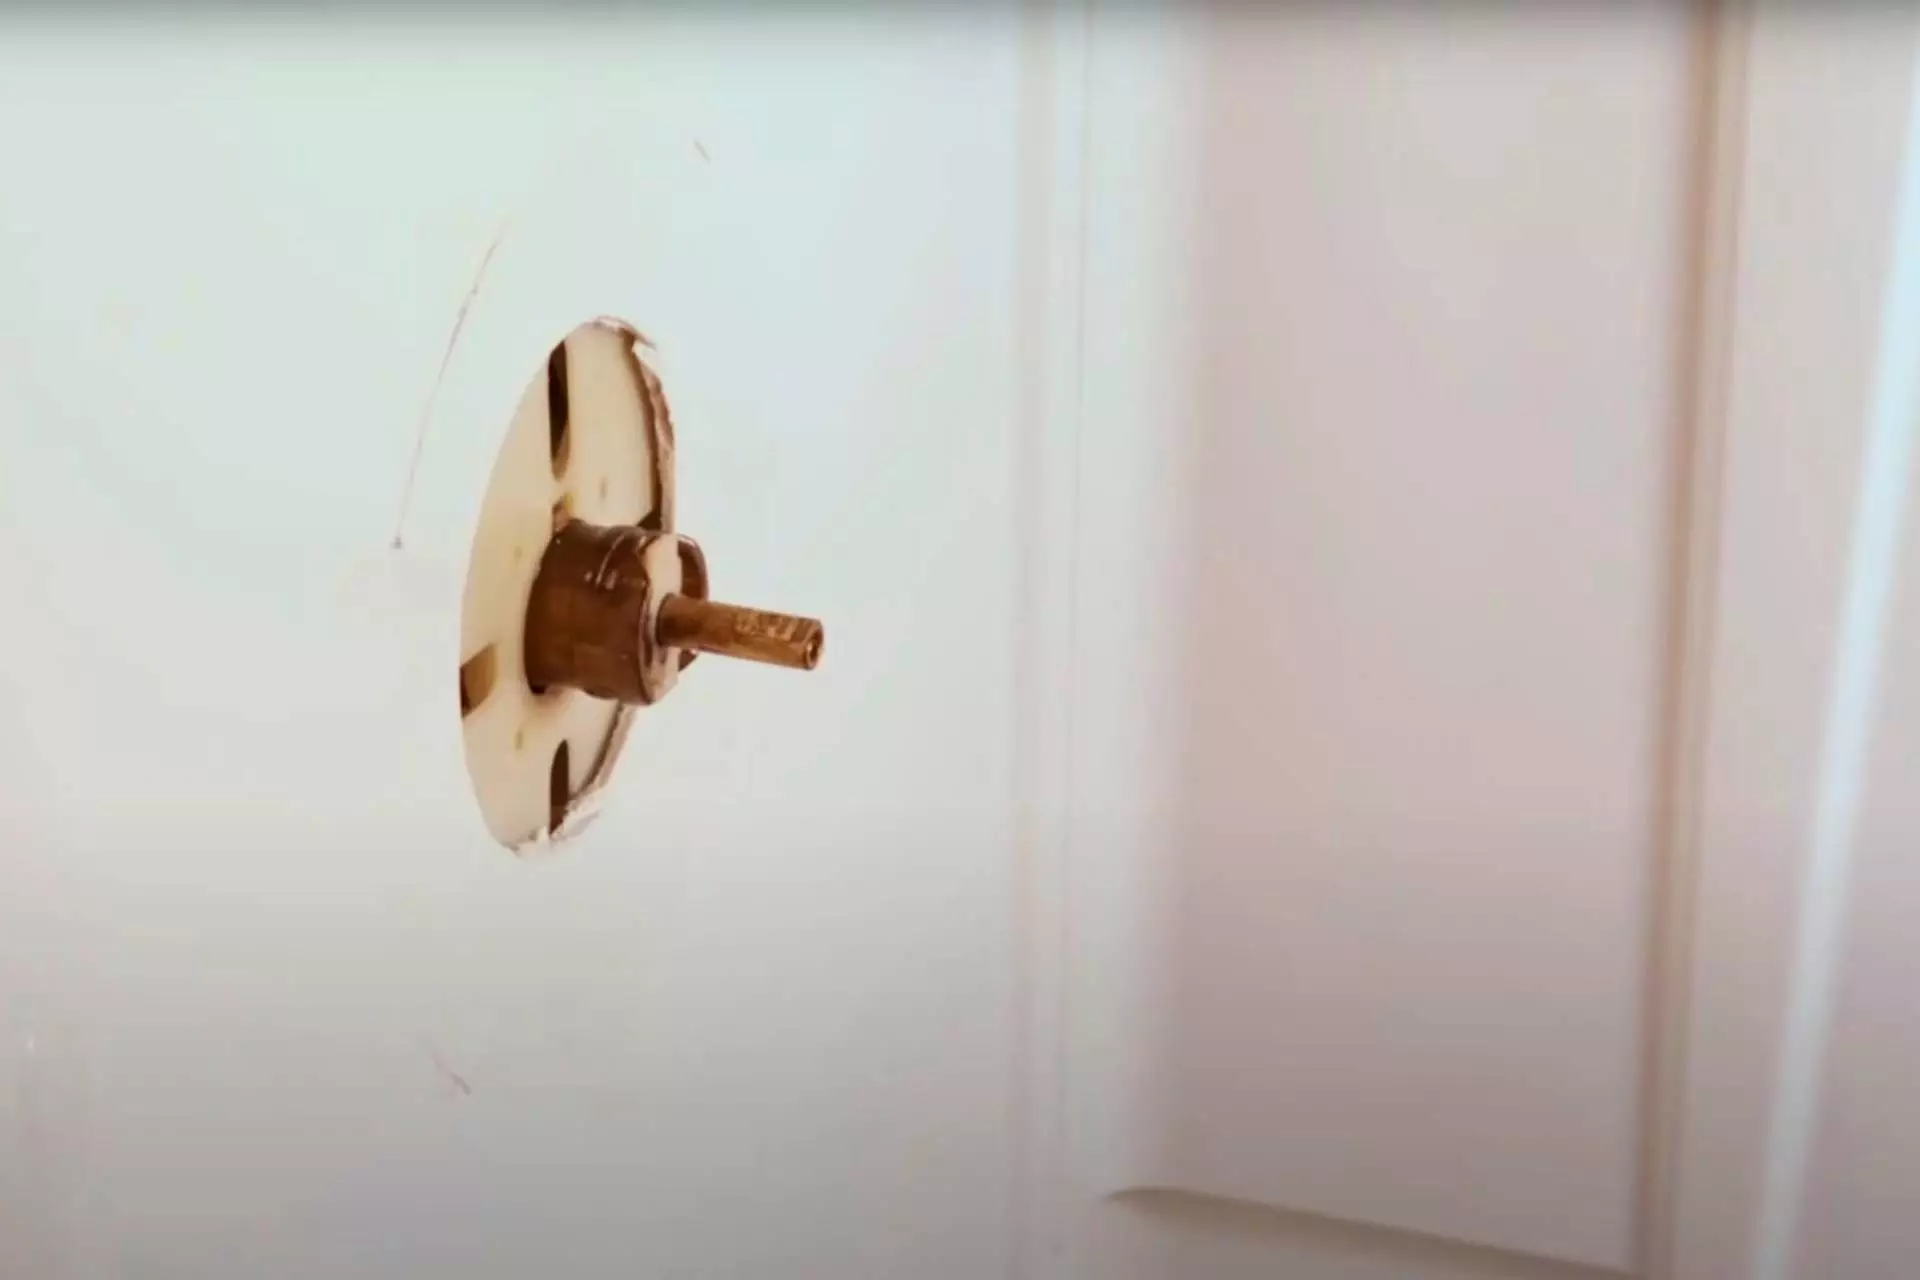
Now that we’ve got the door wide open, it’s time to dig deeper.
You’ll find a couple of parts inside the pressure balancing valve housing.
These usually include the retaining clip and the actual cartridge.
To remove the retaining clip, use a pair of needle-nose pliers. Gently wiggle it out.
Now comes the cartridge. To remove it, you may need a cartridge puller, which you can easily find at your local hardware store.
Use the puller to twist and pull the cartridge out of the valve.
Once we’ve got all the internals out, it’s cleaning time.
Get rid of any debris or mineral buildup you find in there; a good rinse with vinegar should do the trick.
Replace The Cartridge
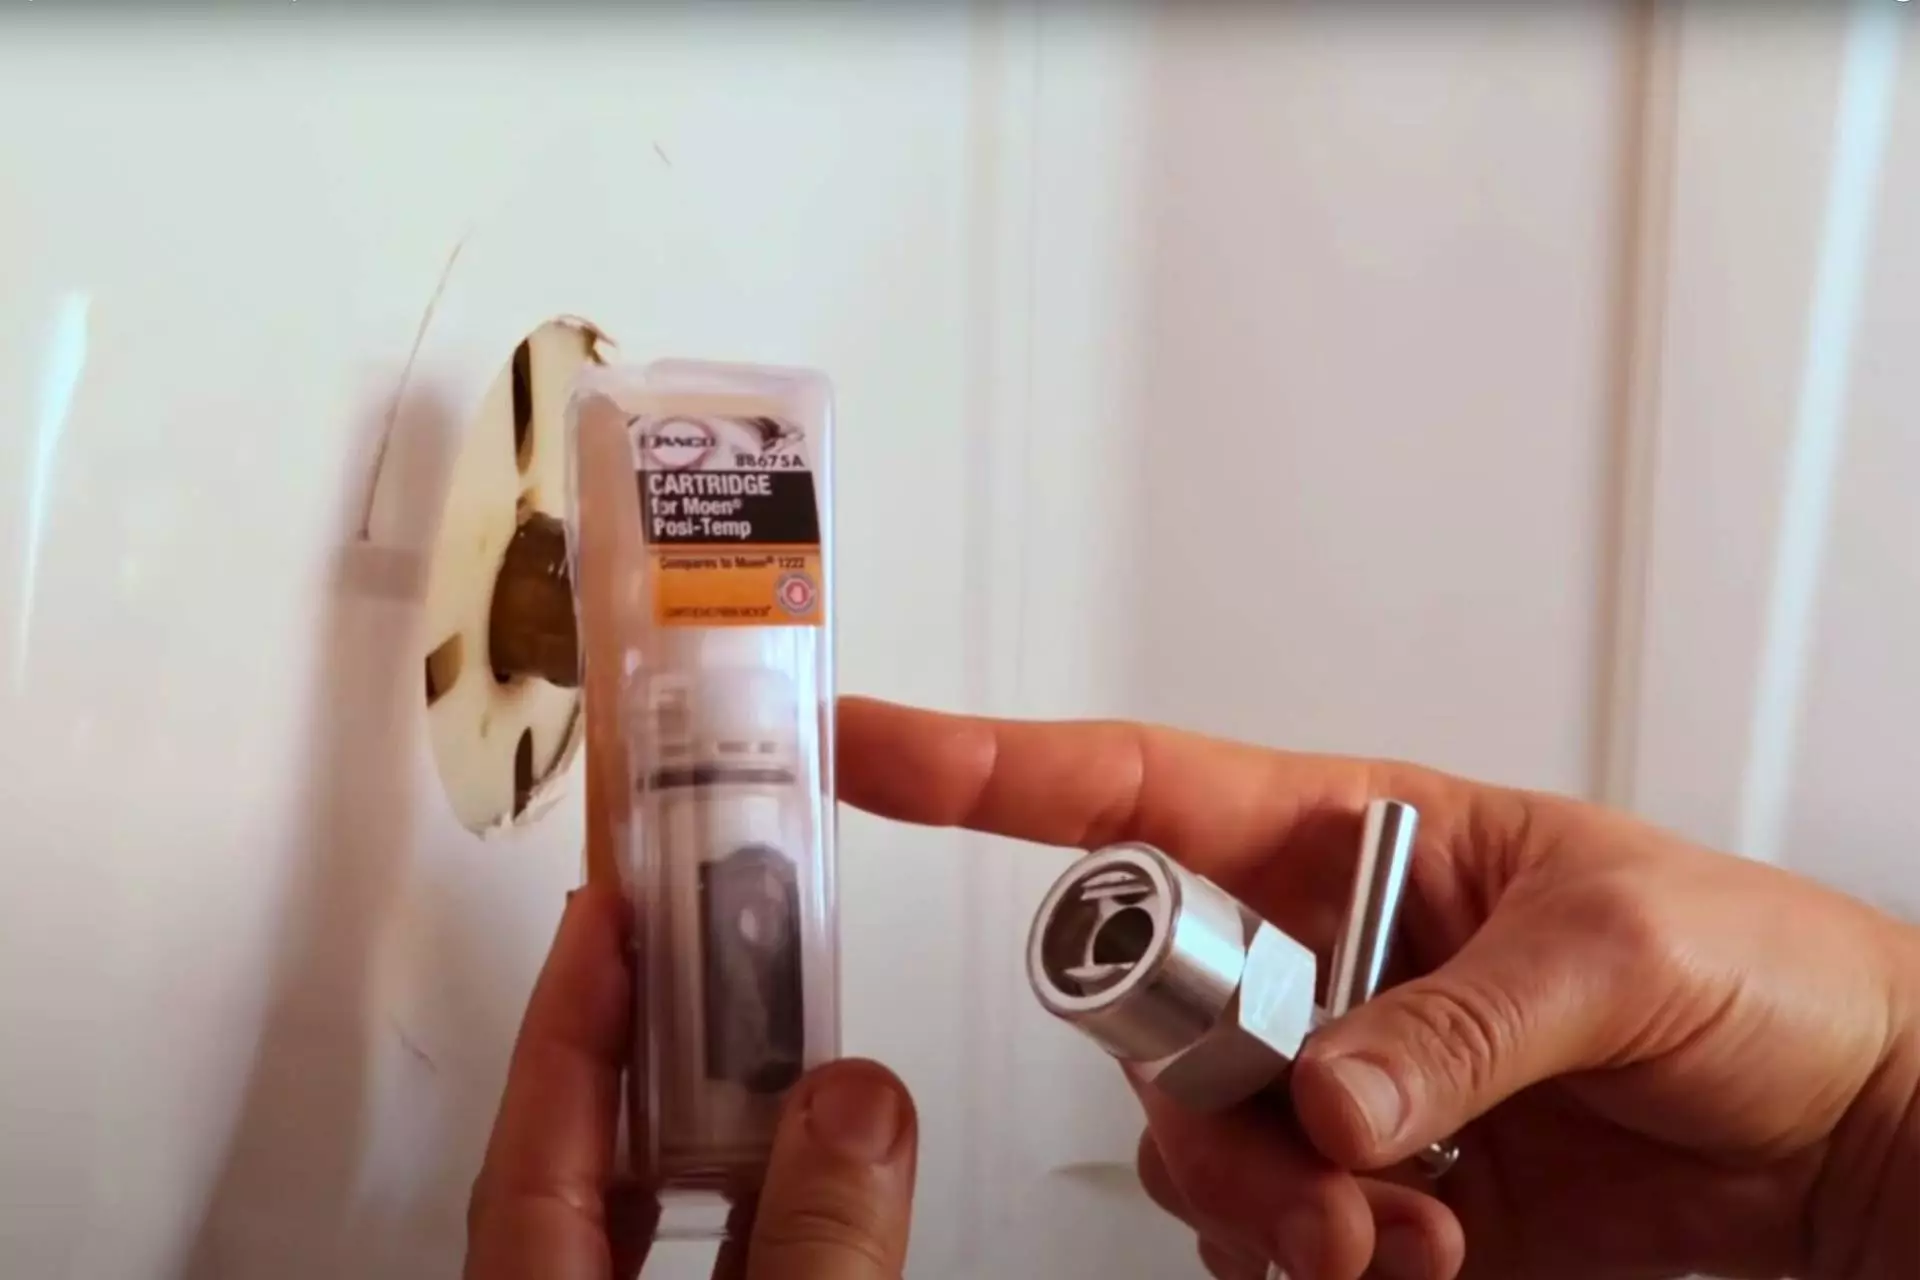
Now, we’re onto the main event – replacing the cartridge!
Take your shiny new cartridge (make sure it’s the right one for your valve; otherwise, this whole operation’s bust) and apply some plumber’s grease around the o-rings.
This nifty trick will make it slide right into place like a dream.
Align the cartridge with the slots in the valve and push it in.
You’ll know it’s in the right place when you can’t see the o-ring anymore, and it’s sitting snugly inside.
Remember that retaining clip you took out earlier?
Time to put it back. Slide it into its slot to secure the cartridge. You’re almost there!
Reassemble The Handle
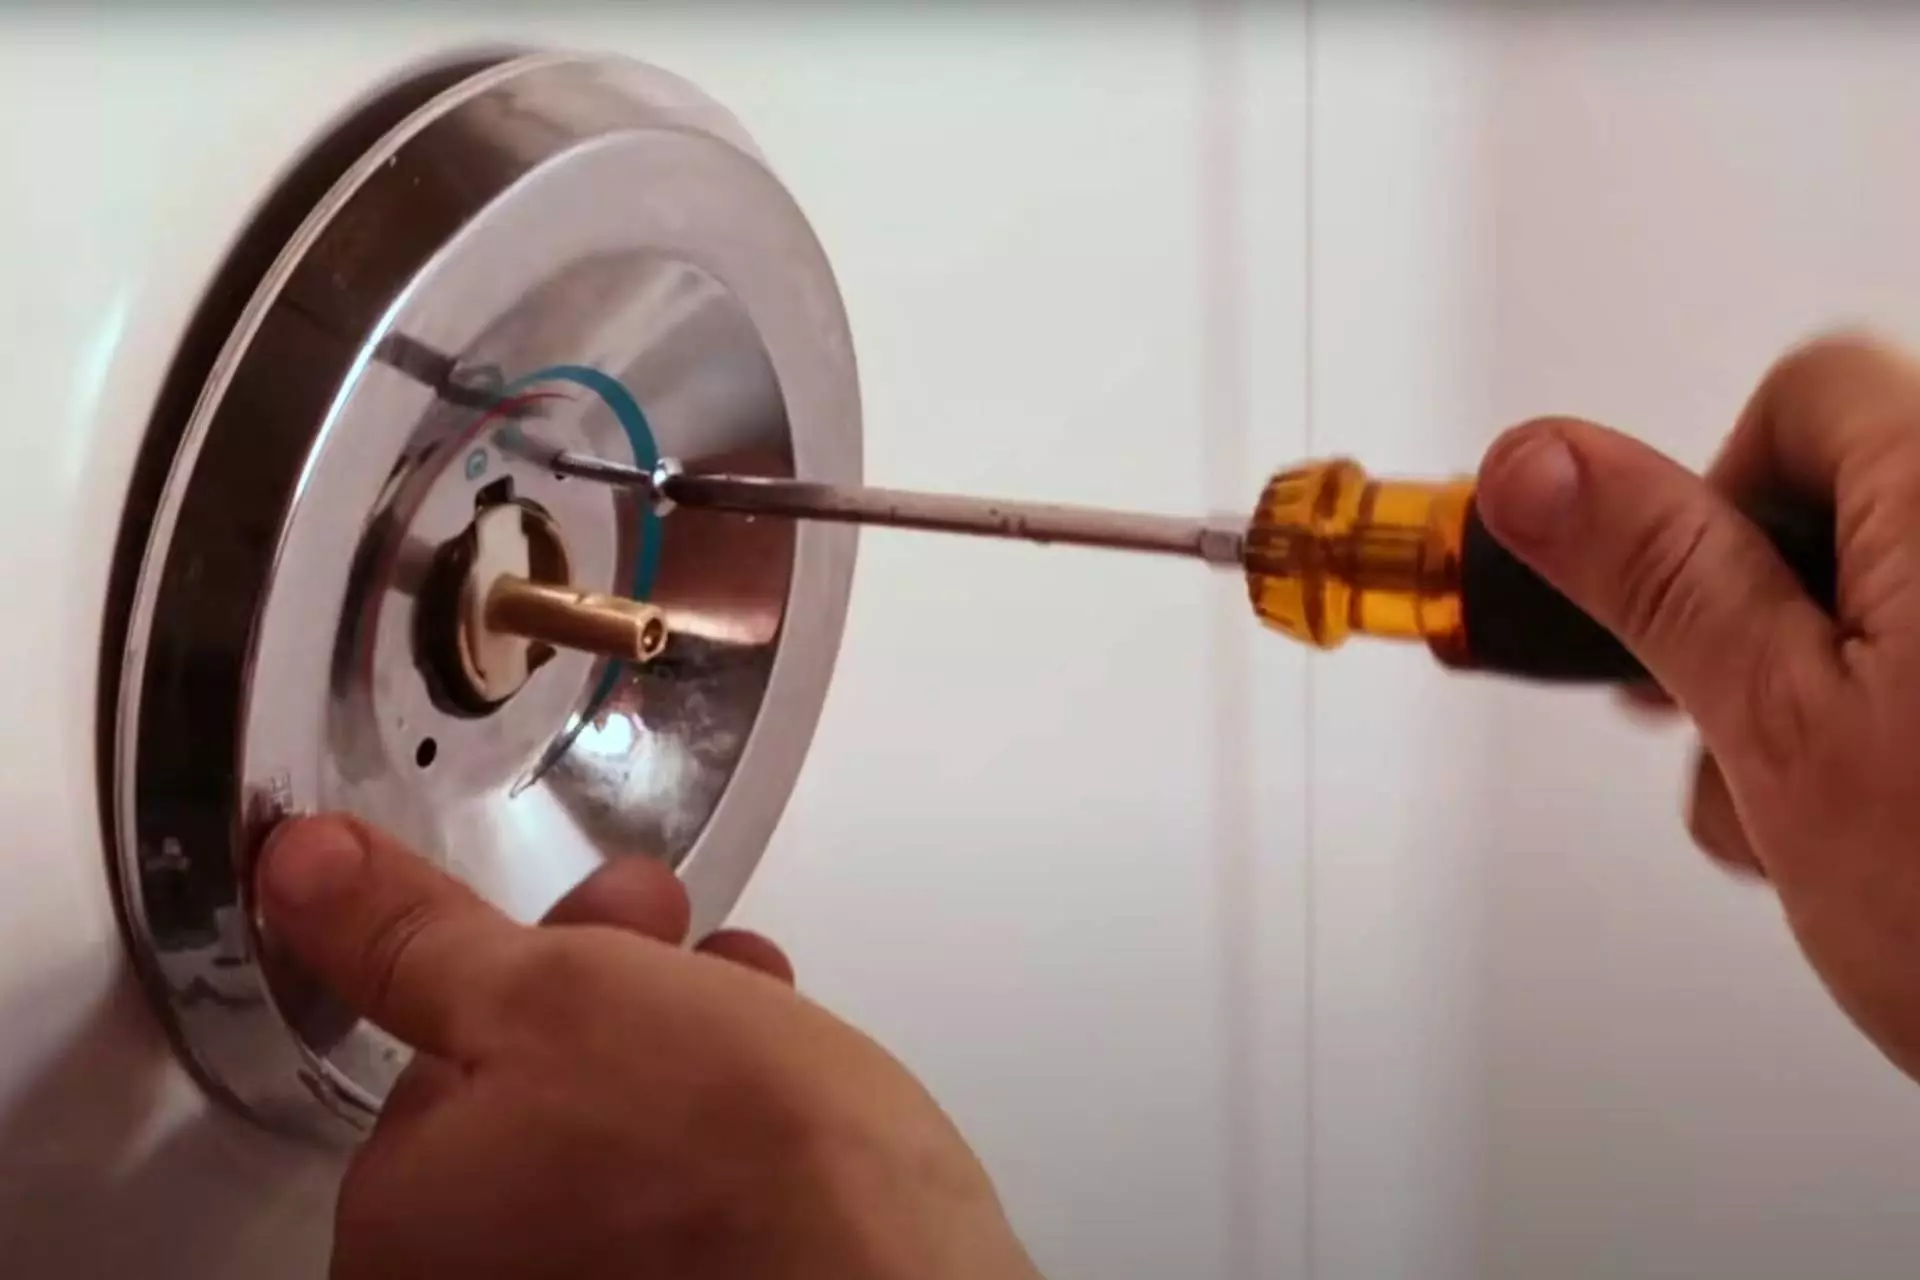
The final step on your journey to a restored shower balance is to put everything back together.
Start with the shower plate. Align it correctly and screw it back on.
Next, slide the shower handle onto the stem of the cartridge.
Ensure it’s positioned perfectly – we don’t want any upside-down handles!
Once it’s in place, take that screw you safely set aside earlier and get it back there.
Tighten it using your Phillips-head screwdriver, but remember, it’s not a wrestling match – don’t over-tighten it.
Pop the cap back on to cover the screw, turn the main water supply line back on, and you’re done!
You’ve officially completed your pressure balancing valve cartridge replacement!
Supply:
- Plumber’s grease: To lubricate the new cartridge before installation, ensuring a smooth operation.
- Rags or Towels: To clean up any spilled water and to help grip components if they’re too wet or slippery.
- White Vinegar: Helpful for cleaning mineral deposits off your fixtures.
Tools:
- Adjustable wrench or pliers: For loosening and removing the old valve.
- Screwdriver: To unscrew any fixtures and remove the handle of the shower.
- New Shower Cartridge: You’ll replace the old, worn-out shower cartridge with this one. Ensure it’s the correct model for your shower system.
- Cartridge Puller: Some brands require a special tool to remove and replace. Ensure you do your research first!
Need Assistance?

Remember, every homeowner can tackle these basic plumbing tasks, and we hope this guide has instilled a bit of DIY spirit in you.
But we also understand that sometimes you’d prefer an expert hand.
Don’t fret! Our experienced plumbers at Phyxter Home Services have covered all your plumbing needs.
Whether you’re still facing issues or simply uncomfortable with DIY adventures, we’re just a call away.
If you live in one of our service areas in North America, get in touch with us today, and we’ll ensure the cold and hot water in your shower is just the way you like it.
📗 Have any other burning questions about your home? Check out our other residential plumbing articles.

