A well-functioning shower valve is more than just a part of your daily routine—it’s an unsung hero of your home’s plumbing system.
This vital component controls the flow and temperature of water in your shower. You likely won’t give it a second thought when it’s working properly.
But when issues arise—such as unexplained leaks or wild temperature fluctuations—it can turn your peaceful morning shower into a frustrating ordeal.
These issues can be symptoms of a faulty shower valve or shower valve cartridges, which might need a replacement. Fortunately, with some basic plumbing knowledge, the right tools, and a bit of patience, you can tackle this task yourself. Let’s get your shower back to optimal performance!
Table of Contents
Understanding Shower Valves

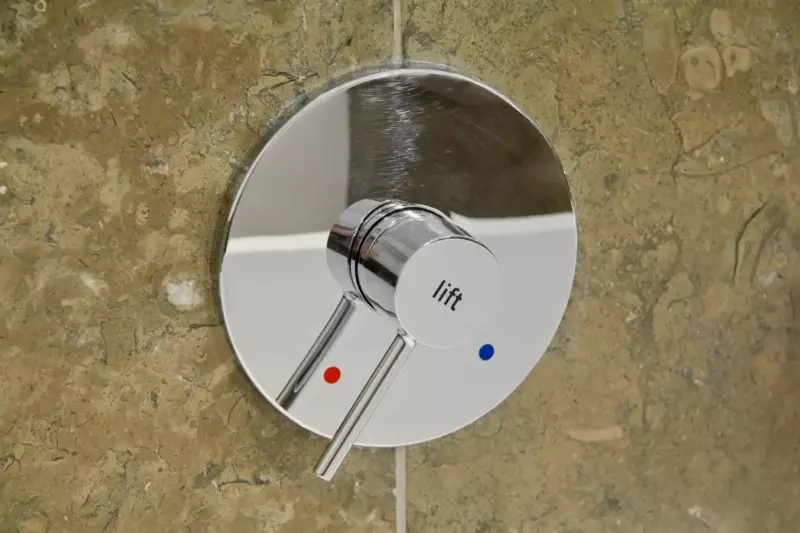
A shower valve acts as the control center of your shower’s plumbing system. It’s responsible for directing the flow of water and regulating its temperature.
When you turn the handle, the shower valve governs how much cold and hot water mixes in the valve before it reaches the showerhead. This simple yet crucial process allows you to enjoy a shower at your preferred temperature.
Signs You Need to Replace A Shower Valve
Inevitably, a shower valve assembly can wear out or fail over time. Knowing how to spot the signs of a faulty shower valve can save you from unnecessary leaks and sudden temperature shifts in the middle of your shower. Let’s look at some classic symptoms that suggest your valve needs replacement.
- Leaks: This is one of the most visible signs. If you spot water leaking from the handle or the showerhead when it’s off, the shower valve could be the culprit.
- Temperature Fluctuations: Unexplained temperature swings in a shower, such as sudden cold or hot bursts, often point to a faulty shower valve. This issue occurs when the valve, responsible for regulating water temperature, malfunctions or wears out over time.
- Low Water Pressure: Another common symptom of a faulty valve is diminished water pressure. If you’ve noticed that your shower’s water pressure isn’t what it used to be, the valve might be to blame. A shower should provide a consistent, satisfying stream—not a weak trickle.
Types of Shower Valves
Pressure Balancing Valves
The first type of shower valve you may encounter is the pressure balancing valve. These valves are designed to maintain a constant water pressure of hot and cold water inputs, therefore providing a steady water temperature.
If someone else in the house flushes the toilet or turns on the dishwasher, a pressure balancing valve compensates for the sudden drop in cold water pressure to prevent a scalding surge of hot water.
Thermostatic Valves
Thermostatic valves are another type of shower valve. These are a bit more sophisticated than pressure balancing valves: they allow you to set your preferred shower temperature and automatically adjust the hot and cold water flow to maintain the selected temperature, regardless of other water usage in the house.
This is why thermostatic valves are often viewed as a safer and more comfortable option—they eliminate the risk of unexpected temperature spikes or drops.
Diverter/Transfer Valves
Finally, we have diverter or transfer valves. These are slightly different, as they don’t regulate temperature or pressure.
Instead, they redirect water from one outlet to another, like a bathtub faucet to a showerhead. Some models even allow you to divert water to multiple showerheads or body sprays. If you’re looking to upgrade your shower experience with multiple water outlets, a diverter or transfer valve might be what you need.
Tools and Materials Needed

Before you get started with your shower valve replacement, it’s important to gather all necessary tools and materials. Here’s a list of what you’ll need:
- New Shower Valve: This is the central component. Whether it’s a pressure balancing valve, thermostatic valve, or diverter/transfer valve, ensure it’s compatible with your shower system. Check out Home Depot or Lowe’s for competitive prices and a wide range of options.
- Pipe Cutter: This tool is essential for cutting through the pipe to remove the old valve. We recommend the RIDGID 40617 Model 101 Close Quarters Tubing Cutter, which is available at Amazon.
- Soldering Supplies: These include a propane torch, solder, and a roll of flux. The Worthington Pro Grade 14.1 oz Propane Cylinder can be picked up from Walmart.
- Adjustable Wrench: You’ll need this to tighten the fittings. The Stanley 87-473 12-inch Adjustable Wrench is a reliable choice available on Amazon.
- Screwdrivers: A good set of screwdrivers is always handy for various parts of the process. The Craftsman 17-Piece Screwdriver Set is highly rated and available on Amazon.
- Teflon Tape: This is used for sealing pipe threads. It’s readily available at most hardware stores or online retailers.
- Plumber’s Putty: This will help seal the new valve and prevent leaks. You can find it at your local hardware store or Home Depot.
Remember, always prioritize quality when choosing your tools. It might be a bit more expensive, but quality tools will make the job easier and last longer.
Step-by-Step Guide to Replacing Shower Valves

We’ve gathered all the tools and materials, so let’s dive into the step-by-step process of replacing your shower valve.
- Turn Off the Water Supply: Always begin by turning off the water supply. The shut-off valve can typically be found in the basement or on an outdoor wall in a utility area of the house.
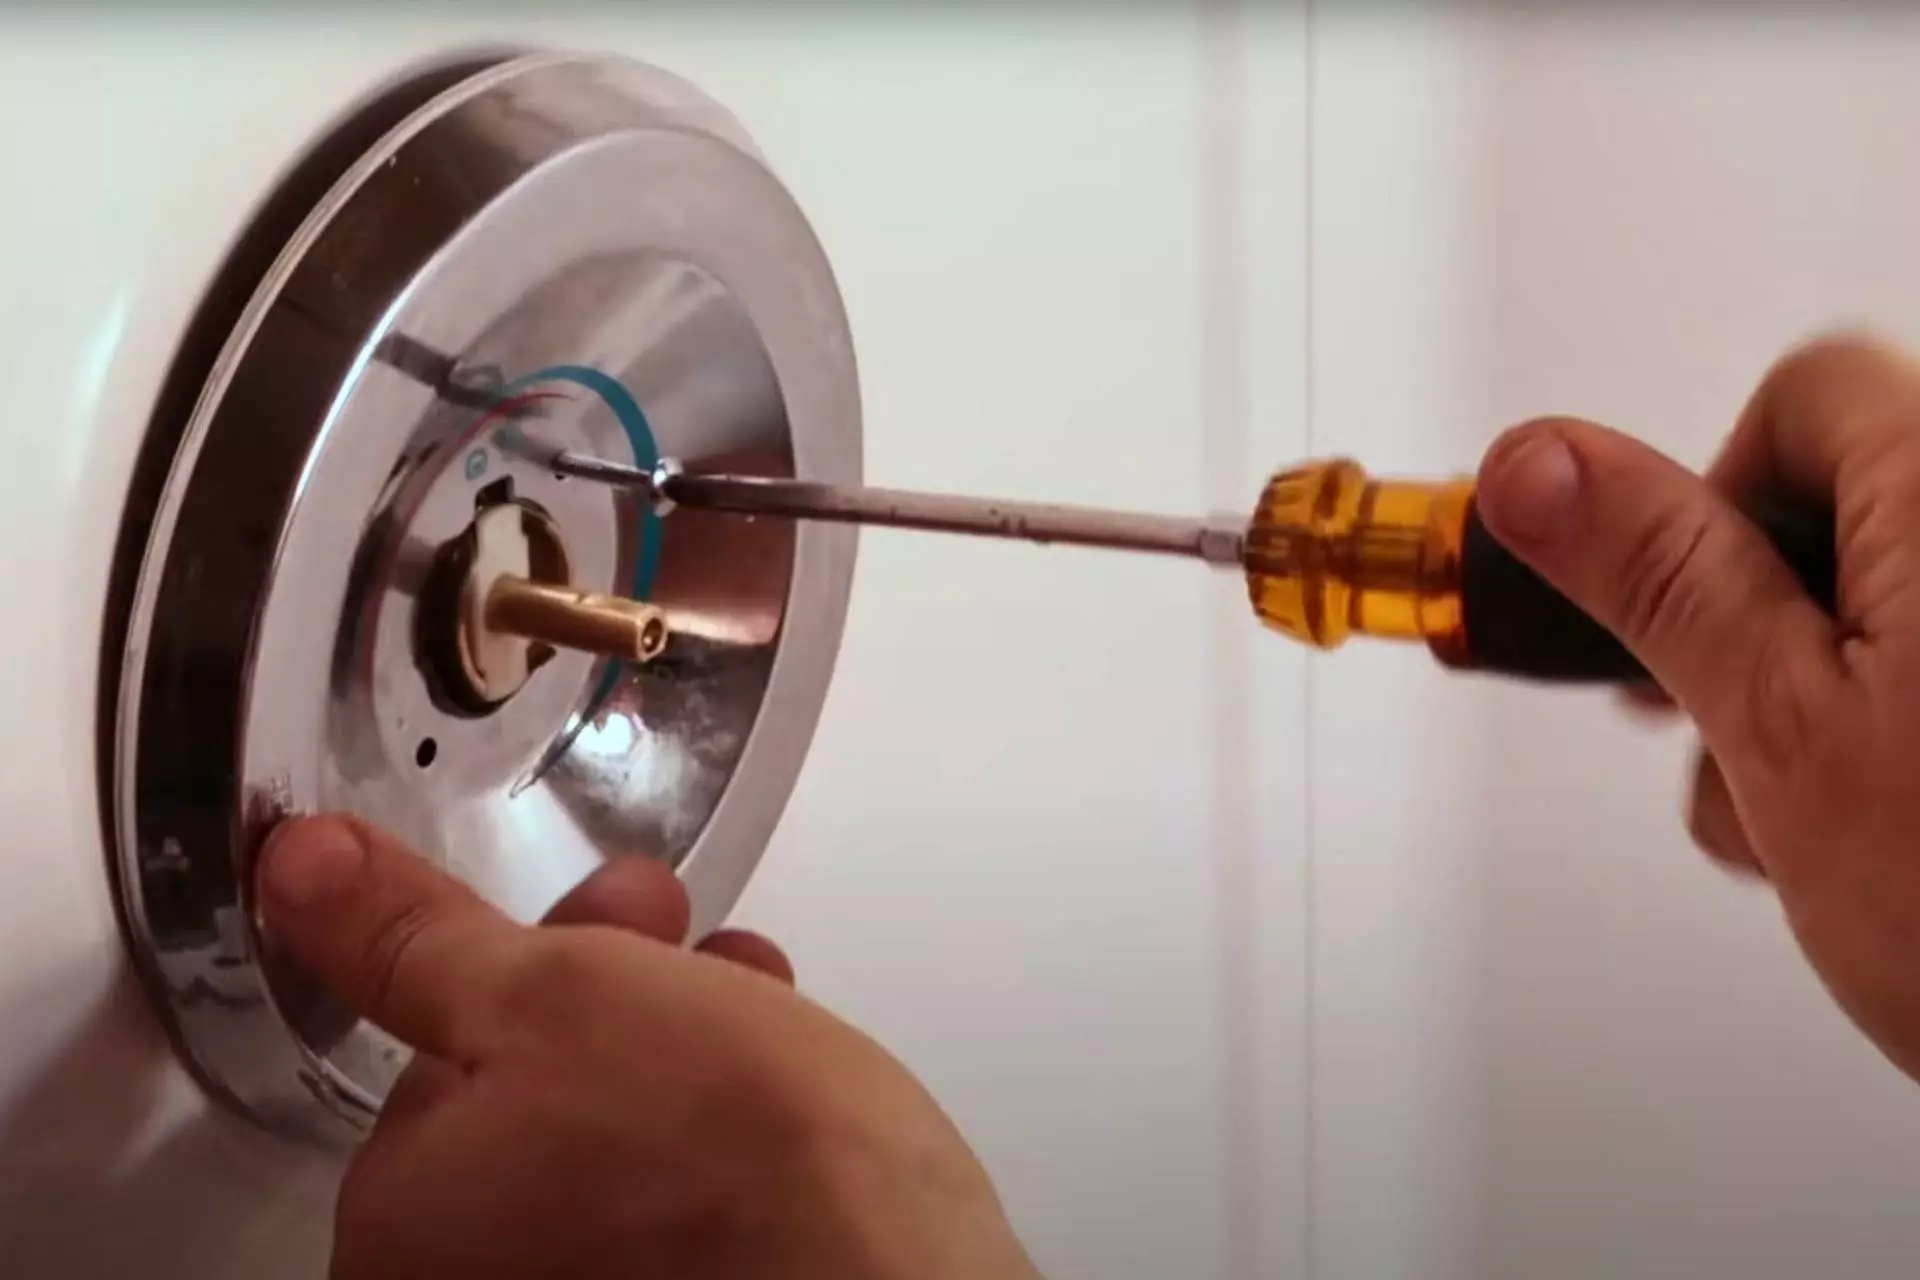
- Remove the Shower Handle and Trim Plate: Use your screwdriver to remove the shower handle. Depending on the design, the screw may be hidden under a cap on the handle. After the handle is off, remove the trim plate. Be careful not to damage the shower wall.
- Cut Into the Wall: This step will depend on your shower’s configuration. You may need to cut a hole in the wall behind the shower or in the shower stall to access the valve.
- Remove the Old Valve: Cut the pipes with your pipe cutter and remove the old valve. If the valve is connected with soldered fittings, heat them with the propane torch and pull the valve free as the solder melts.
- Install the New Valve: Insert your new valve into place. Be sure to align it correctly according to the manufacturer’s instructions.
- Reconnect the Pipes: You might need to adjust the size of the pipes using a pipe cutter. Once they’re the correct size, reconnect them to the valve using the soldering supplies.
- Test the New Valve: Turn the water supply back on and test your new shower valve. Ensure that the water temperature can be adjusted correctly and that there are no leaks.
- Seal Everything Up: Once you’re sure everything is working correctly, seal the wall. Use your plumber’s putty and Teflon tape to prevent any water leaks.
- Reinstall the Trim Plate and Handle: Finally, reinstall the trim plate and handle. Check one more time to make sure everything is working correctly.
There you have it! A brand new, fully functional shower valve. Remember, if you run into any issues along the way, don’t hesitate to call a professional plumber. DIY is a great way to save money, but sometimes it’s best to leave the more complicated tasks to the professionals.
Troubleshooting Common Problems
Sometimes, despite our best efforts, things don’t go as planned. Here are some common challenges you might encounter when replacing a shower valve, along with their solutions:
- Leaking valve: If you notice a leak after installation, this might be due to insufficient plumber’s putty or Teflon tape. Double-check your seals and, if necessary, apply more to ensure a water-tight fit.
- Difficulty adjusting water temperature: If adjusting the water temperature is challenging, the issue might be with the anti-scald protection feature. Refer to the manufacturer’s instructions to adjust this feature.
- Inconsistent water pressure: If water pressure is inconsistent, the problem could stem from a faulty diverter valve. In this case, a replacement might be necessary.
When to Call a Professional

While it’s empowering to tackle home projects independently, there are certainly scenarios when it’s best to call a professional plumber. Trust your judgment—if a project seems beyond your skill level, don’t hesitate to contact a plumbing professional.
- Persistent Leaks: If you’re dealing with a shower valve that continues to leak despite your best DIY efforts, it might be time to call in the pros. Persistent leaks can lead to significant water damage over time, and a professional plumber has the tools and expertise to identify and resolve the root cause.
- Lack of Hot Water: If you’ve replaced your shower valve but are still experiencing a lack of hot water, a more serious issue might be at play. This could be due to a problem with your water heater or supply lines. Given the potential complexity of these systems, a professional can help diagnose the problem and provide a safe solution.
- Major Installation Errors: If you’ve attempted to install a new shower valve and it’s clear something isn’t right—such as inconsistent water pressure or inability to switch from hot to cold—it’s time to seek professional help. Incorrect installation can lead to costly repairs down the line.
- Multiple Plumbing Issues: A professional can efficiently handle all these tasks in one visit if you’re dealing with multiple plumbing issues, such as a shower valve replacement and a leaky faucet or running toilet.
Cost Considerations
Replacing a shower valve can have varying costs, depending on whether you opt for a DIY approach or hire a professional. If you choose the DIY route, expect to pay between $30 to $100 for a new shower valve and possibly another $50 to $100 for additional supplies like a propane torch, solder, and pipe cutter.
On the other hand, if you decide to hire a plumber, the labor cost can significantly increase your expenditure. You would still need to purchase the shower valve, which costs between $30 and $100. However, the labor cost can range from $150 to $300, with additional expenses likely.
While the DIY route might seem more cost-effective upfront, it’s essential to consider the value of your time and the potential for errors or complications. A professional plumber can provide assurance of a job well done, saving you potential headaches (and costs) down the line. This makes hiring a professional a worthwhile consideration for many homeowners.
Maintenance Tips for Shower Valves
Routine maintenance is key to prolonging your system’s lifespan and avoiding making additional purchases, such as a new shower valve cartridge or even an entire shower valve assembly.
Here are some tips to help you keep your shower valves in optimal condition:
- Regular Cleaning: Regularly clean your shower valves to remove mineral deposits and prevent buildup. Use a mild, non-abrasive cleaner and a soft cloth to avoid scratching the surface.
- Check for Leaks: Regularly check your shower valves for leaks. Even a small drip can indicate a problem that could become more serious over time.
- Monitor Water Pressure: Pay attention to your shower’s water pressure. If it starts to decrease, it might indicate that your valve is wearing out or there’s a blockage.
Consider having a professional plumber inspect your shower valve every few years. They can identify potential issues you might miss and provide expert advice on maintenance. Certain companies even offer maintenance contracts to help reduce the expenses of keeping your system running at peak condition.
Conclusion
In conclusion, replacing a shower valve doesn’t have to be an intimidating task. With a basic understanding of the process and some patience, you might find this DIY task rewarding and cost-effective.
Remember, it’s okay to meet challenges along the way, but there are some circumstances when you might need to call a professional plumber, such as persistent leaks, hot water issues, major installation errors, or multiple plumbing issues.
Whether you opt for DIY or professional help, the critical thing is ensuring your home’s plumbing is in optimal condition and functioning correctly.
Frequently Asked Questions
Q: How often should I replace my shower valve?
A: Generally, shower valves should last many years, but everything has a lifespan. If you start to notice issues such as a constant drip, difficulty adjusting temperature, or a decrease in water pressure, it might be time for a replacement.
Q: Do I always need to hire a professional for a valve replacement?
A: Not necessarily. If you’re a handy person and feel comfortable with the steps outlined above, you can certainly take on this project yourself. However, it’s better to call a professional if you encounter any issues.
Q: Is there a specific type of valve that’s best for my shower?
A: The best valve for your shower depends on your specific needs. A pressure-balancing valve will likely do the job if you have a simple setup with a single showerhead. You might need a diverter or transfer valve if you have a more elaborate setup with multiple showerheads or body sprays.

