Table of Contents
A leaking shower head, often a subtle household issue, signifies more than an irritating drip. At Phyxter Home Services, we recognize that such leaks can silently inflate water bills and lead to significant water wastage. Tackling this problem promptly is not just about peace of mind; it’s about efficiency and sustainability.
In this concise guide, we’ll explore the causes of shower head leaks, provide easy-to-follow solutions, and advise when to seek professional help. Our expertise, combined with your proactive steps, will help conserve water, save money, and maintain an efficient home. Join us in addressing this common yet impactful issue, ensuring your shower remains a haven of comfort and functionality.
Key Takeaways
- Leaking shower heads can be caused by various problems, including worn-out washers, faulty seals, mineral build-up, corroded parts, and more complex issues such as faulty cartridges or valves.
- DIY fixes include replacing washers, cleaning off mineral build-up, and replacing corroded parts, but more complex issues might require professional help.
- Regular cleaning, periodic inspections, and timely replacements are best practices for long-term maintenance to prevent leaks. Consider upgrading your shower head if it continually leaks despite your best efforts, shows signs of excessive corrosion, or is outdated.
Understanding the Problem: Common Causes of Shower Head Leaks

Worn Out Washers and Seals
One of the most common culprits behind a leaking showerhead is worn-out washers and seals. Over time, these small but essential components can deteriorate due to constant exposure to water and changing temperatures, leading to leaks.
Replacing washers and seals is a basic DIY task. When selecting new components, make sure to choose washers and seals that match the size and type of your shower head. Opt for durable materials like a neoprene or rubber washer, which are known for their water-resistant and long-lasting properties.
Mineral Buildup
If your water source is hard, mineral buildup could be causing your shower head to leak. Hard water carries minerals like calcium and magnesium that can accumulate over time, blocking water flow and forcing water to escape through unintended routes.
Consider installing a shower head filter or a water softening system to prevent mineral buildup. These solutions address the issue at its source by reducing the mineral content in your water. Eco-conscious homeowners might prefer a shower head filter – a small, one-time investment that can make a big difference.
Loose Connections and Corrosion
Loose connections and corrosion are other notable triggers for leaking shower heads. A loose connection can stem from inadequate tightening of the shower head onto the arm, while corrosion occurs when metal parts are subjected to water for a prolonged period. Both issues can compromise the seal and lead to water leakage, so prompt action is advised.
To diagnose a loose connection, gently wiggle your shower head. If it moves easily, it’s likely not secured firmly enough and needs to be tightened. Signs of corrosion include discolored or flaky patches on the shower head. If you spot these, it’s time to replace your shower head.
Step-by-Step Solutions

Regular Inspection and Cleaning
Regular inspection and cleaning of your shower head can be a game-changer in preventing leaks.
Make it a routine to inspect your shower head monthly for signs of mineral buildup, wear and tear, or corrosion. Simultaneously, a thorough cleaning every three months can keep potential issues at bay.
For cleaning, simply unscrew the shower head and soak it in a vinegar solution, followed by a gentle scrub to remove any lingering mineral deposits. After rinsing for an hour, reinstall it and check for leaks.
Replacing Washers and Seals
Replacing worn or damaged washers and seals is another simple solution to stop a shower head leaking. Here’s a brief step-by-step guide:
- Turn off the water: Start by turning off the water supply to avoid unnecessary water wastage.
- Remove the shower head: Using a wrench, carefully unscrew the shower head from the shower arm.
- Inspect the components: Check the washer and seal for signs of wear or damage. Clear out any mineral deposits. If the washer and seal appear worn or damaged, replace them.
- Reinstall the shower head: After placing the new washer and seal, reattach the shower head onto the shower arm. Ensure it’s secured tightly, but do not overtighten it, as it can damage the threads.
- Test for leaks: Turn the water back on and check if the leak is resolved.
Troubleshooting Tips
If you still have a dripping shower head post replacement, it might be due to a larger issue, such as a problem with the shower valve or the plumbing behind the wall. In these cases, contacting a professional plumber for further inspection and repair is recommended.
Tightening Connections and Handling Corrosion
Maintaining secure connections and addressing corrosion is crucial to ensuring a leak-free shower. If the shower head is loose, try tightening it by hand first. If it still wiggles, use a wrench to secure the connection.
Remember to wrap the threads of the shower arm with Teflon tape before re-attaching the shower head to create a water-tight seal. Avoid over-tightening as it can damage the shower arm threads wrap.
For corrosion, if you notice discolored or flaky patches on the shower head, it’s time for a replacement. Remember, corrosion can lead to more significant issues, and acting promptly can save you from costly repairs.
Opt for a new shower head of similar size and threading to your current setup for a smooth transition. Always wear rubber gloves during these tasks, and ensure the area is dry to prevent accidents.
Advanced Fixes for Persistent Leaks
Addressing Faulty Shower Cartridges and Valves
In dealing with more complex leaks, faulty shower cartridges and valves might be the culprits.
The cartridge in the faucet valve is responsible for managing hot and cold water. If you’ve replaced washers, seals, and the shower head, yet the leak persists, it is likely what’s driving the issue.
To replace a faulty cartridge, first, shut off the water supply. Remove the handle and the trim plate to reveal the shower valve cartridge. Carefully remove it, being cautious not to damage the surrounding areas. Take the faulty cartridge to your local hardware store to ensure you purchase the correct replacement.
Regarding valves, if the leak continues even after all parts of the shower head are off, the issue might lie with the shower valve. This is a job for professionals due to the complexities involved.
When to Upgrade Your Shower Head
If your shower head continually leaks despite your best DIY efforts, shows signs of excessive corrosion, or is simply outdated and doesn’t function as efficiently as it used to, it’s time for a replacement.
Consider it a positive opportunity: modern shower heads have improved functionality and aesthetics and several environmental benefits. Many are designed with water-saving features, resulting in much less water wastage and, consequently, a reduction in your water bill.
Professional Help: When to Call a Plumber

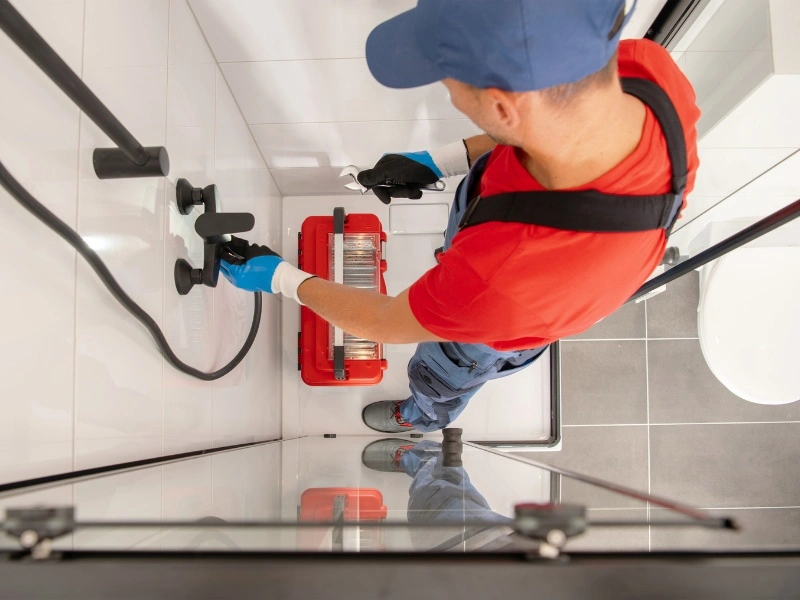
While DIY solutions are effective for minor leaks, professional help becomes crucial when dealing with complex issues like faulty valves or extensive corrosion.
Experienced plumbers have the necessary tools and expertise to quickly identify and fix the problem, saving you time and potential water damage. They can also provide valuable advice on maintenance and upgrades.
When hiring, ensure the plumber is licensed, insured, and has positive customer reviews. Remember, a reliable professional is an investment that can prevent future problems, saving you money in the long run.
Prevention: Best Practices for Long-Term Maintenance
Regular upkeep and vigilance can help prevent shower head leaks, prolong the life of your fittings, and keep them looking and working their best. Here are some best practices for long-term maintenance:
- Regular Cleaning: Keep your shower head clean to prevent mineral build-up, which can cause blockages and leaks. A simple soak in vinegar can often do the trick.
- Periodic Inspections: Look out for early signs of wear and tear or damage. A quick inspection can occasionally help identify problems before they escalate.
- Timely Replacements: If the shower head is old, corroded, or consistently problematic, consider replacing it altogether. Opt for quality fixtures that are known for their durability.
Conclusion

Tackling a leaking shower head with urgency and expertise is essential for sustaining an efficient and enjoyable shower experience. Ignoring such leaks can escalate into substantial water waste, inflated utility bills, and possible damage to your bathroom.
Our article has equipped you with practical tips, effective solutions to manage minor leaks independently, and the insight to discern when professional assistance is necessary. This proactive approach ensures your shower head remains in top condition, contributing to a more sustainable and cost-effective household.
We invite you to explore our other informative articles for more home maintenance insights and DIY solutions. Additionally, if you’re facing plumbing challenges beyond a simple fix, check out our plumbing services to see if Phyxter Home Services operates in your area. Our skilled professionals are ready to assist you with any plumbing needs, ensuring quality and reliability.
Remember, maintaining your home’s plumbing is not just about fixing immediate problems; it’s about ensuring long-term efficiency and comfort. Visit us for more tips, tricks, and expert plumbing services.

